Number 2 for 2012

Want to show you work to the world? Want a place to post photos of your work and solicit the opinions of those that have gone before you? Post your work here.
Post Reply
User avatar
Ocelot55
Posts: 1639
Joined: Thu Nov 10, 2011 12:31 pm
Location: Columbus, OH
Contact:

Number 2 for 2012

Post by Ocelot55 »

Ok guys, here is number two for 2012. Once I finished this pipe I didn't know what to think. It turned out well enough, but my first thought was "Eh, pretty bland." I guess I'm really looking for some feedback. I want to push my pipes to the next level. Compared to all the awesome pipes posted in the past few weeks I had real trepidation putting this one up.

Image

Image

Image

Image
User avatar
Growley
Posts: 814
Joined: Mon Jul 25, 2011 12:46 pm
Location: Fairhope Alabama

Re: Number 2 for 2012

Post by Growley »

I won't try to offer any critique, but I'll tell you what I like about it. Pic 3 shows it best I think, Your shank and stem have some healthy curvaceous lines. I really like that portion of the pipe.
wdteipen
Posts: 2817
Joined: Sat Mar 29, 2008 1:05 pm

Re: Number 2 for 2012

Post by wdteipen »

There's a lot that is good about this pipe. The main thing that I see that could be improved is that the proportions are off. Specifically, the shank is too short. It should be the same length as the bowl is tall from the top of the shank. The stem could use some refining also. The stem could be much thinner. Shoot for 0.14" to 0.16" behind the button. Pretty good looking pipe overall.
Wayne Teipen
Teipen Handmade Briar Pipes
http://www.teipenpipes.com
User avatar
d.huber
Posts: 2691
Joined: Mon Dec 12, 2011 9:28 pm
Location: Durham, NC
Contact:

Re: Number 2 for 2012

Post by d.huber »

Looks like a well done classic. Only complaint I have is the pics! Not bad, but boy are they blurry. :P

I'd love to see some sharper photos so I can really appreciate the work, is all.
http://www.dshpipes.com

"Strive for excellence, not for what someone else accepts."
-Tyler Beard
User avatar
Ocelot55
Posts: 1639
Joined: Thu Nov 10, 2011 12:31 pm
Location: Columbus, OH
Contact:

Re: Number 2 for 2012

Post by Ocelot55 »

Thanks for the comments everyone.

I promise I'll get on the pic problems soon. I saw an old post by Kurt on how to construct a light box. I might try to rig something up.
The Smoking Yeti
Posts: 1346
Joined: Tue Jan 10, 2012 4:55 pm
Contact:

Re: Number 2 for 2012

Post by The Smoking Yeti »

I really like the green. I never see pipes dyed green. But yeah, I don't have a ton of experience in classic shapes- but I definitely dig what your doing.
My pipemaking stream of conscience/ website:

http://yetipipe.tumblr.com/
User avatar
Tommi
Posts: 65
Joined: Sun Dec 11, 2011 5:53 pm
Location: Hagen a.T.w. / Germany

Re: Number 2 for 2012

Post by Tommi »

Hey Guy,
i like the pipe. The processing and finish looks real good.
I know the problems about short shanks because i have many small Briarblocks.
It looks beautifully and simply.
I love the line from bowl to bit, that looks elegant.
I cannot understand your trepidation to put the pipe up.
It is well done.
Greetings Tommi
my English is bad
User avatar
Ocelot55
Posts: 1639
Joined: Thu Nov 10, 2011 12:31 pm
Location: Columbus, OH
Contact:

Re: Number 2 for 2012

Post by Ocelot55 »

Thanks for the comments guys. I have a few more in the works so expect several over the next couple of weeks.
User avatar
d.huber
Posts: 2691
Joined: Mon Dec 12, 2011 9:28 pm
Location: Durham, NC
Contact:

Re: Number 2 for 2012

Post by d.huber »

Ocelot55 wrote:Thanks for the comments everyone.

I promise I'll get on the pic problems soon. I saw an old post by Kurt on how to construct a light box. I might try to rig something up.
I like to let the sun do the lighting for me, especially on cloudy days. There's just enough diffusion to soften the light but you get great pictures. Even better when they're outside.

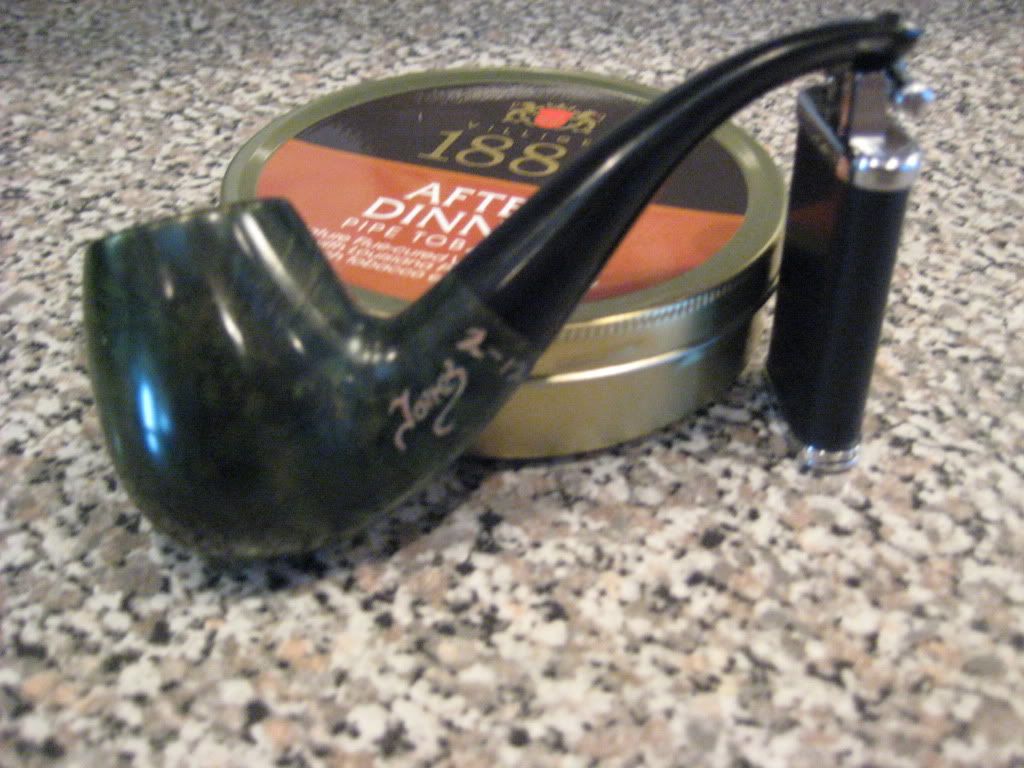
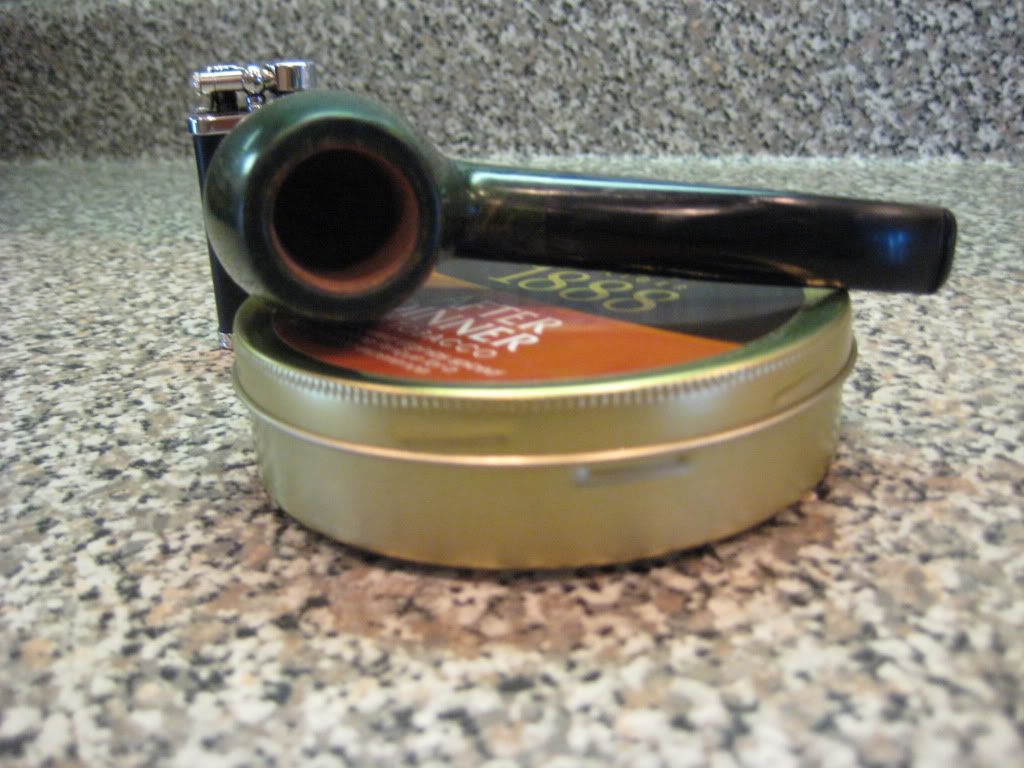
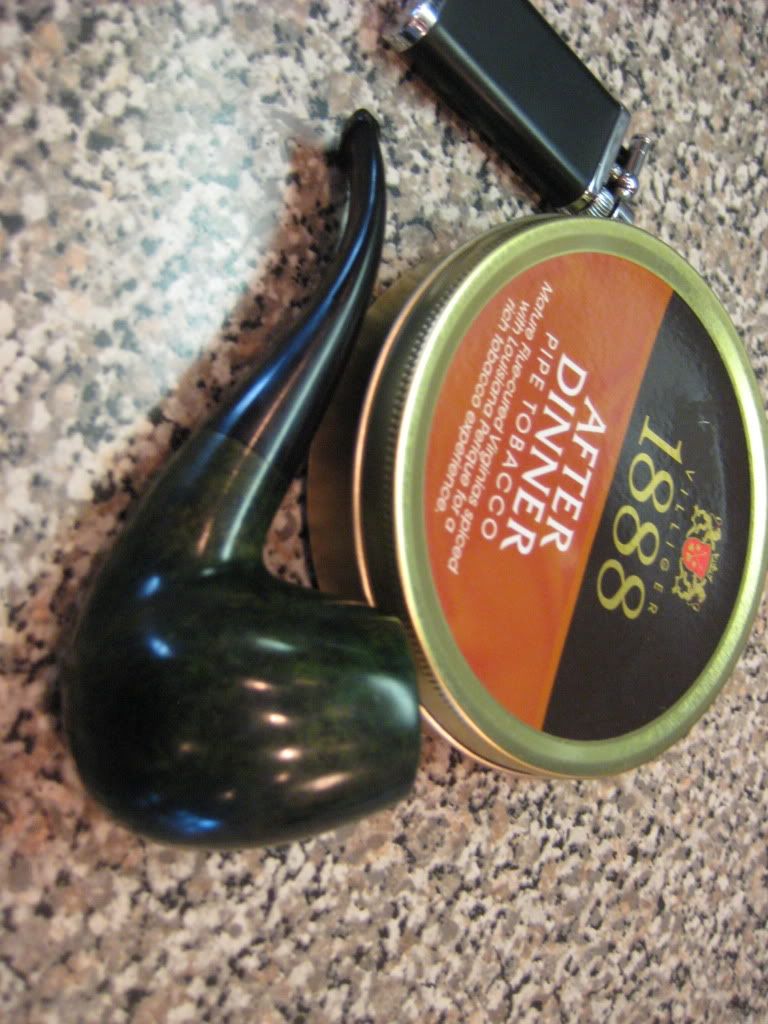
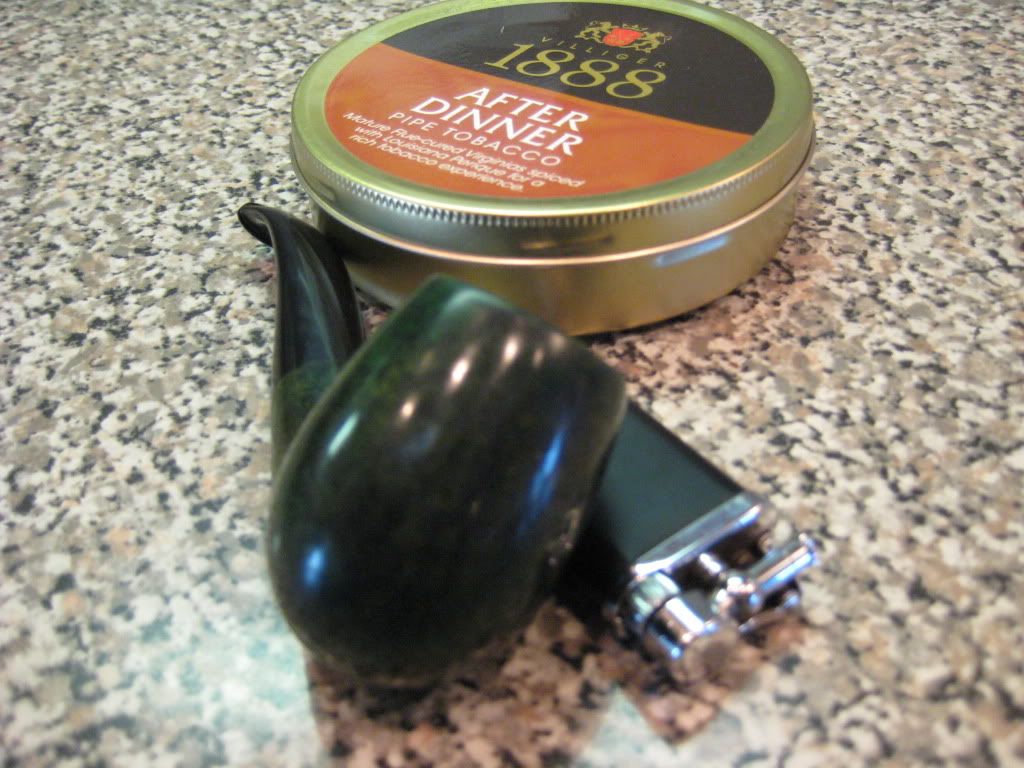
For example, some photos of Andrew Staple's latest bull dog that I took right after I got it. These were taken inside using the light from one of my windows, but I think they still turned out ok:

Image
Image

Now these are not the end all be all of pipe photography by any means, but they're clear and they give a good idea of what the pipe looks like and what makes it beautiful, I think. Point being, I don't think you need to set up a light box to achieve decent photos. Once you've got a serious operation running, I'd think a light box would be appropriate.
http://www.dshpipes.com

"Strive for excellence, not for what someone else accepts."
-Tyler Beard
User avatar
d.huber
Posts: 2691
Joined: Mon Dec 12, 2011 9:28 pm
Location: Durham, NC
Contact:

Re: Number 2 for 2012

Post by d.huber »

Also, it looks like your camera may not be very good at close ups. What camera are you using?
http://www.dshpipes.com

"Strive for excellence, not for what someone else accepts."
-Tyler Beard
User avatar
Ocelot55
Posts: 1639
Joined: Thu Nov 10, 2011 12:31 pm
Location: Columbus, OH
Contact:

Re: Number 2 for 2012

Post by Ocelot55 »

UberHuberMan wrote:Also, it looks like your camera may not be very good at close ups. What camera are you using?

A crappy one...........from the Civil War I believe. The exposure needs a good thirty minutes.

It's a canon powershot 1000. Slightly dated I know. I'm thinking of putting a new digital camera on our wedding registry.
eric
Posts: 58
Joined: Thu Aug 05, 2010 7:30 am
Location: Inver Grove Heights, Minnesota
Contact:

Re: Number 2 for 2012

Post by eric »

Your biggest problem with the pictures (IMO) is that the camera is focusing on the wrong thing. You need to figure out how it focuses. On my cheap crappy old camera, it focuses in the center. If I want the focus on something else, I use the timer, click the shutter while the part I want focused in the center of the picture, then frame how I want before the timer expires, if that makes sense. You might also investigate your "macro" setting.
Post Reply