This is what happens when you rush.... #'s 3 & 4

Want to show you work to the world? Want a place to post photos of your work and solicit the opinions of those that have gone before you? Post your work here.
Post Reply
Jon G
Posts: 5
Joined: Tue Jan 03, 2012 10:20 pm
Location: New Jersey

This is what happens when you rush.... #'s 3 & 4

Post by Jon G »

So the pipes below are my 3rd an 4th pipes, started different on days and finished on the same day. My Pipe workshop is about 20 minutes from home in my best friend's Father-in-law's barn haha. It goes without saying my wife isn't too keen on me being there all day, and I only get a chance to go there about once a week... hence the rushing. Anyway, they aren't bad, but they have lots of little flaws and one or two big ones (I think) that make them unsellable in my opinion (not that I am anywhere near selling my pipes yet); hence why they are both going to be freely given to friends. To start I can't get the blasted stems to sit flush with the shank :banghead: . Obviously I forgot to sand down the other end of the shank extension (the side that contacts the stem) on the Canadian, so thats why it doesn't sit flush on that pipe. On the bent dublin, I definitely should have had the shank bending the opposite way, and i think the stem is too long. Both pipes still have some little scratches I couldn't get out through the sanding process and the air holes are not centered at the bottom of the bowls among other things.

Anyway for some positives... I like the contrast between the stain color and the shank extensions on both pipes and I think out of all the skills required in pipe making, shaping is definitely the one that is easiest and perhaps is coming naturally for me. I pretty much shaping strictly with a sanding wheel, Dremel and files. My drilling and finishing skills need work.

Please offer up your comments and criticisms! Tell me what else I could do better.. Thanks!

Image

Image

Image

Image

Image

Image

Image

Image
User avatar
Ocelot55
Posts: 1639
Joined: Thu Nov 10, 2011 12:31 pm
Location: Columbus, OH
Contact:

Re: This is what happens when you rush.... #'s 3 & 4

Post by Ocelot55 »

Overall those don't look bad. You did diagnose your main problem: rushing. I made the same mistakes when I started...I still make them. I use hand tools almost exclusively on mine, its just way too easy to muck things up with power tools, and it really teaches you to use your eye. For me, during the shaping process when I get things close, I'll take a couple of swipes with the file and then look closely at the pipe, examine it from different angles, and assess where I need to remove more material. After working for about an hour or so, I take a break. Smoke a pipe, draw some new designs, or better yet sand another stummel. It also helps when you start to try copying a pipe you already have.

How are you turning your tenons? If your using the PIMO tenon turning tool you need to be careful because sometimes it leaves the tenon and the face of the stem not perpendicular to each other. Make sure you examine the face of the stem in relation to the tenon before you fit it to the pipe. Also, a precision ground forstner bit is much better than something you pick up from a hardware store for facing the shank. Kurt, told me Freud was a good brand.

Keep working, but take it easy. Look at UberHuberMan's pipe. He spend 70 hours on that thing and it is looking pretty sweet. I spent three hours on my first pipe. You can tell! It's all about patience.
pierredekat

Re: This is what happens when you rush.... #'s 3 & 4

Post by pierredekat »

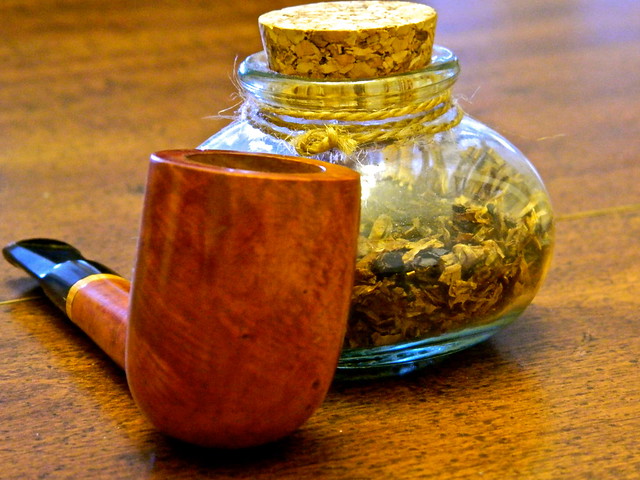
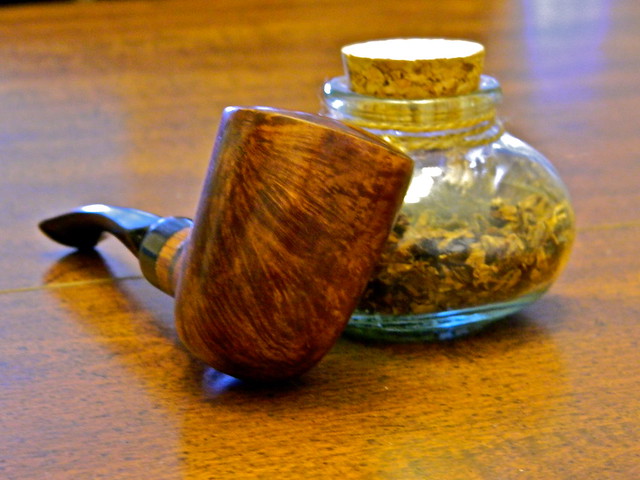
These are very nice first pipes, overall.

Depending on the pipe I'm working on, 50-75 percent of my work isn't done in my shop. It's done while I'm sitting around watching a movie with my family.

I will say that I am blessed that my wife's father was a carpenter, so she's perfectly cool with that. But even if you aren't lucky enough to be able to do fine tuning in your living room, you could surely do it somewhere other than in your buddy's shop.

Heck, if you have to, go and get yourself a little fishing tackle box, put the unfinished pipe and all your files and sandpaper and whatnot inside, and go sit on a park bench on a nice day.

At the shop, do your drilling, mating bowl and stem, rough shaping, etc.; take the pipe home and do your fine tuning, filework, sanding down to 1000 grit, staining, etc.; wrap it up for transport; take it back to your buddy's shop the next week; do your buffing; and you're done with that pipe in your first hour.

Then, with the rest of your time at the shop, start on your next pipe, but have your design and plan all worked out during the week away from the shop so you don't waste valuable shop time, get that pipe drilled and rough-shaped with the stem and bowl mated, take it home or wherever for fine tuning, filework, sanding, staining, yada, yada, yada.

One other thing is that pipes don't have to be "done" until you say that they're "done". For instance, a mismatch between stem and shank can almost always be fixed with some judicious filework and/or sanding. And it only takes, maybe, an hour to do it, once you've developed that particular set of skills.

Just stick with it, the work on a particular pipe until you are satisfied, and pipemaking in general. :wink:
wdteipen
Posts: 2817
Joined: Sat Mar 29, 2008 1:05 pm

Re: This is what happens when you rush.... #'s 3 & 4

Post by wdteipen »

Not a bad start. One tip: use a chainsaw file at the transition between bowl and shank.
Wayne Teipen
Teipen Handmade Briar Pipes
http://www.teipenpipes.com
Post Reply