thanks for the input folks, i really appreciate it!
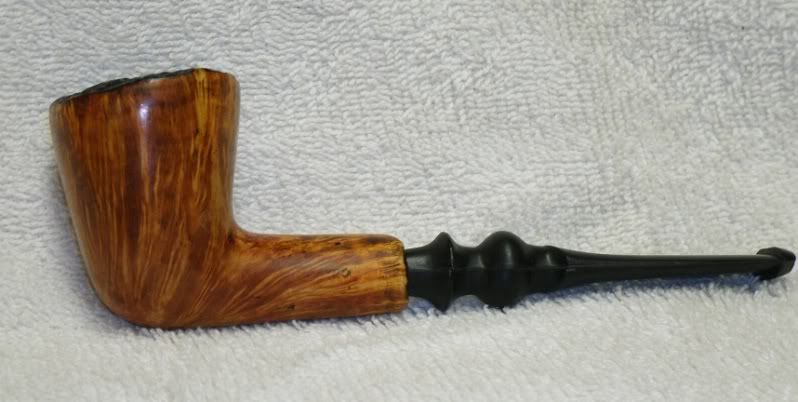
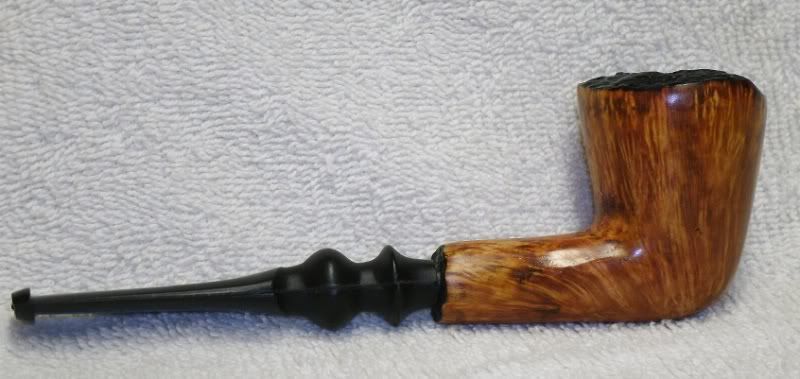
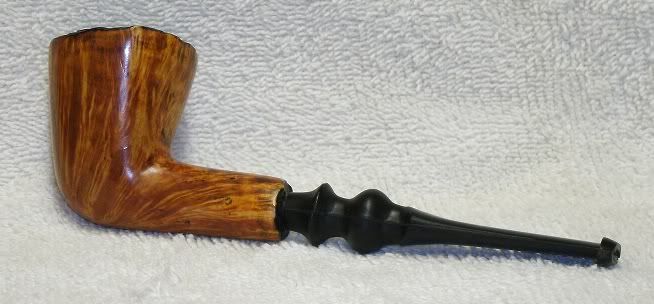
you're right, i did very very little with the stem. merely took off the rough edges and that's pretty much it. i will work on that more, get it looking better, and will also take the advice for future use as well.
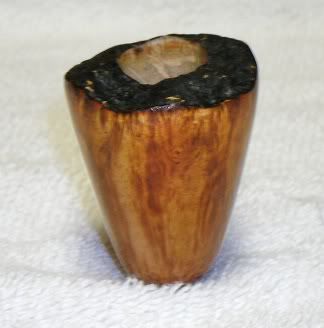
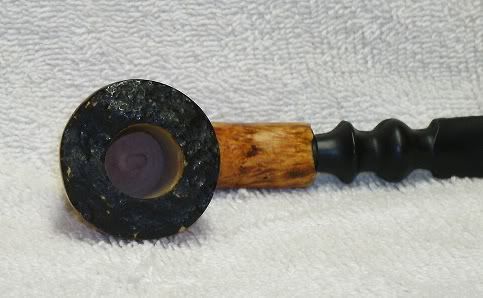
i was fairly happy with the briar i got this time around. this was my first time playing with the leather dyes and first time with shellac too. i was pretty pleased with this color combo. it was one heavy coat of black, and then two heavy coats of orange. with sanding between and after each coat of course. followed by two coats of shellac, and more sanding, and then wax.
i also noticed that i didn't get comments on my photography. *grins* it must be getting a bit better.