no. 3 please critique

Want to show you work to the world? Want a place to post photos of your work and solicit the opinions of those that have gone before you? Post your work here.
Post Reply
pennsyscot
Posts: 223
Joined: Thu Jun 26, 2008 5:03 pm
Location: pennsylvania USA

no. 3 please critique

Post by pennsyscot »

This is my third pipe. The stem is cumberland with a delrin tenon and
a mortise sleeve. One area I'm having difficulty with is removing the
drill marks from the inside of the stem. How important is it to remove
drill marks from the inside of a rubber stem? Will drill marks effect the
smoking properties of the pipe? I've tried the pipe cleaner with tripoli
in the dremel I welcome criticism and suggestions, so if you think it
looks like crap, please say so. thanks, Scot

Image
Image
Image
Image
Image
Charl
Posts: 1901
Joined: Mon Jan 07, 2008 3:03 pm
Location: South Africa

Post by Charl »

Scot, I like where you were going with this pipe. For me the fancy stem doesn't work. Maybe just a normal taper would have done the trick better for me. The stem should also be bent just a tad more. Also, to my eye, the area from where the shank meets the bowl to halfway up the bowl, could do with a bit sharper curve. Don't know if I'm making myself clear.
But all in all I like what I'm seeing.
User avatar
KurtHuhn
Site Admin
Posts: 5326
Joined: Thu Nov 23, 2006 8:00 pm
Location: United States/Rhode Island

Post by KurtHuhn »

I disagree about the amount of bend in the stem. It's actually spot on, and any more would result int eh bowl being tipped way forward while the pipe is hanging out of your mouth. Even while holding it in your hand, if it had any more bend, sticking it back in your mouth would be awkward.

For me, the stem works. I don't know why, exactly, but it does. I think it's because it combines both shank extension and stem into one unit. Where a shank extension would make for impossible drilling, incorporating shape of one into a stem gives the appearance of one, and adds length to the pipe without adding it all in the stem. If you follow....

It's a bit too substantial in the transition area from the back of the bowl to the shank, and this is accentuated by the relative thinness of the shank. You could cut that area down, but then you'd have a pipe that still didn't work because it had no flow.

Suggestions for this pipe? Thicker shank, cut the bowl down in the back so that the angle compliments the front of the bowl instead of being in opposition to it, reduce the angle of the shank relative to the bowl so that there's fluid motion from the top front to the button, and try to keep the bottom of the bowl from dropping below the line created by the bottom of the shank.

All in all thoguh, it's admirable for #3.
Kurt Huhn
AKA: Oversized Ostrogoth
artisan@k-huhn.com
User avatar
flix
Posts: 522
Joined: Thu Nov 23, 2006 8:00 pm

Post by flix »

I like it. It looks like it was a real "fun" pipe to make, including the stem. The stem looks just fine to me, especially with the flow from a very thick transition at the bowl/shank. Very nice symmetry from the bottom, quite attractive.

Kurt has nailed it on the issues, but, I do believe it works. It also looks like a very heavy pipe. What's the weight and what are the dimensions?

As an aside, the pictures are pretty dark. I'm sure with some computer magic the pics would help show it off better.

Keep up the good work!
Charl
Posts: 1901
Joined: Mon Jan 07, 2008 3:03 pm
Location: South Africa

Post by Charl »

cut the bowl down in the back so that the angle compliments the front of the bowl instead of being in opposition to it,
Thanks, Kurt, that's what I was trying to say regarding the back of the bowl.
I've been looking at the pipe again, and it's sort of grown a bit on me, but I'm still not fond of that stem :)
And I agree, it's quite good for a #3! Congrats!
wdteipen
Posts: 2819
Joined: Sat Mar 29, 2008 1:05 pm

Post by wdteipen »

For me, I would agree that the stem needs a bit more bend. I tend to prefer mine close to being on the same plane as the top of the bowl. If you were smoking this pipe and hanging it downward the bend works as is. If you smoke your pipes with the bit perpendicular to your mouth (if that makes sense) then it needs more bend. I'm new at this though and Kurt has much more knowledge and experience so if I were you I'd take his word over mine. You did a nice job on the stem. The bit could be a tad thinner. I like mine as thin as I can get them. It's nerve racking work to get them that thin though. The top of the shank/stummel transition doesn't seem to flow with the overall design of this pipe. If I understand Kurts comments correctly I would agree that you either need a thicker shank or a thinner shank/stummel transition for the overall design to flow better. Another minor thing to give attention is to make sure to sand the stain out of the inside of the chamber for a more polished and professional look. One last thing that's been bothering me, in general, with alot of the non-traditional pipe shapes being crafted by artisans is that the top of the bowl is sometimes not perpendicular to the tobacco chamber. I'm a utilitarian kinda guy and it seems that this would result in the tobacco being smoked uneven if the pipe is packed level or just below level with the bowl. Some of you experienced guys correct me if I'm wrong on this.

Overall, I think this is outstanding work for your 3rd pipe. You really have talent and seem to be picking things up quite quickly. I can't wait to see your next one.
User avatar
KurtHuhn
Site Admin
Posts: 5326
Joined: Thu Nov 23, 2006 8:00 pm
Location: United States/Rhode Island

Re: no. 3 please critique

Post by KurtHuhn »

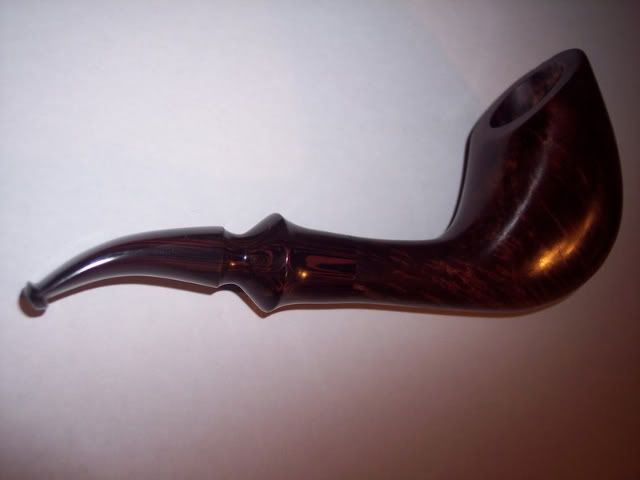
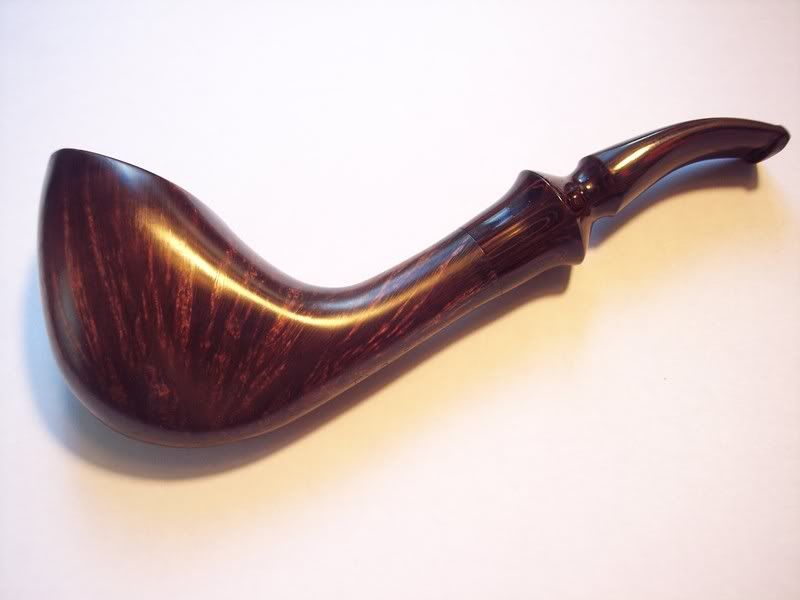
pennsyscot wrote: One area I'm having difficulty with is removing the
drill marks from the inside of the stem. How important is it to remove
drill marks from the inside of a rubber stem? Will drill marks effect the
smoking properties of the pipe? I've tried the pipe cleaner with tripoli
in the dremel
I just realized that I blew completely past this question.

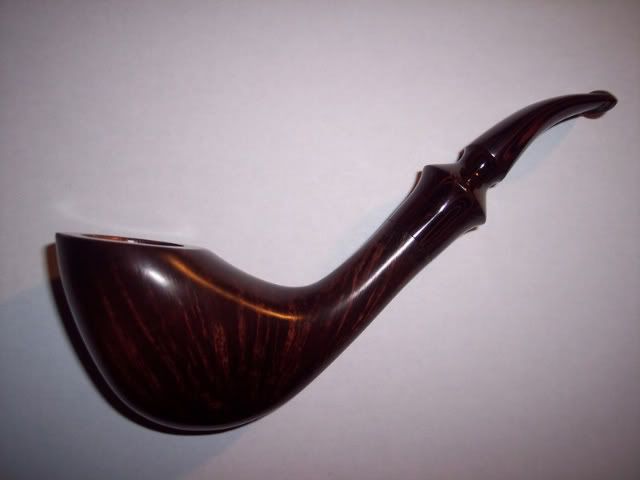
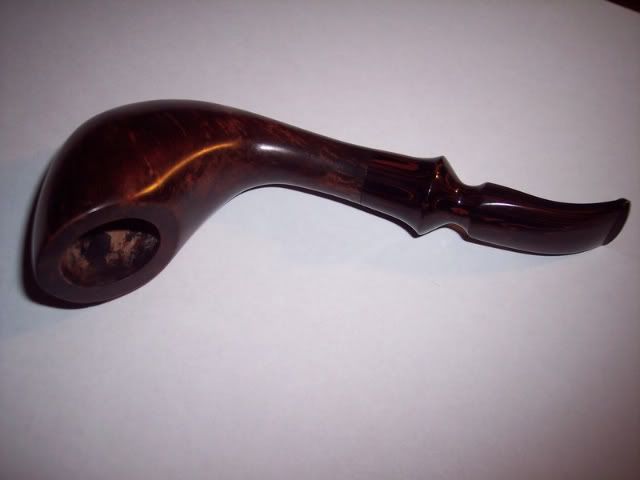
Contrary to popular belief, you do not need a polished ariway to make a pipe smoke extremely well. If there are burrs or flashing inside the airway, then that's another issue, but little swirl marks from the drill bit won't affect the smoking properties in the least.

Just make sure you use a sufficiently large drill bit, that your slot is open and appropriately veed, and that you smoothed out any irregularities in the slot with a needle file. If your tools are sharp, then the surface left behind will be naturally smooth.

If you're making a clear acrylic stem, then the rules change somewhat, since the airway is readily visible from the outside. In this case, just to make it look better, you should polish the interior airway - but this is such a huge time-sink, and such a pain in the butt, that I really don't use clear stems.
Kurt Huhn
AKA: Oversized Ostrogoth
artisan@k-huhn.com
pennsyscot
Posts: 223
Joined: Thu Jun 26, 2008 5:03 pm
Location: pennsylvania USA

Post by pennsyscot »

Thanks everyone for the great commentary and advice. I tried to take a
pic with better lighting. The weight of the pipe is 1.28oz. Where does
this fall in the weight range of pipes? It feels pretty light in my teeth.
The other dimmensions are: length 5.4" ,height 2.17", width 1.34", shank
dia. .55, thickness behind button .149", tabacco chamber .75x1.4.
thanks, Scot
Image
Post Reply