Billiard #3

Want to show you work to the world? Want a place to post photos of your work and solicit the opinions of those that have gone before you? Post your work here.
Post Reply
Houncer
Posts: 24
Joined: Sat Jan 05, 2013 7:11 am

Billiard #3

Post by Houncer »

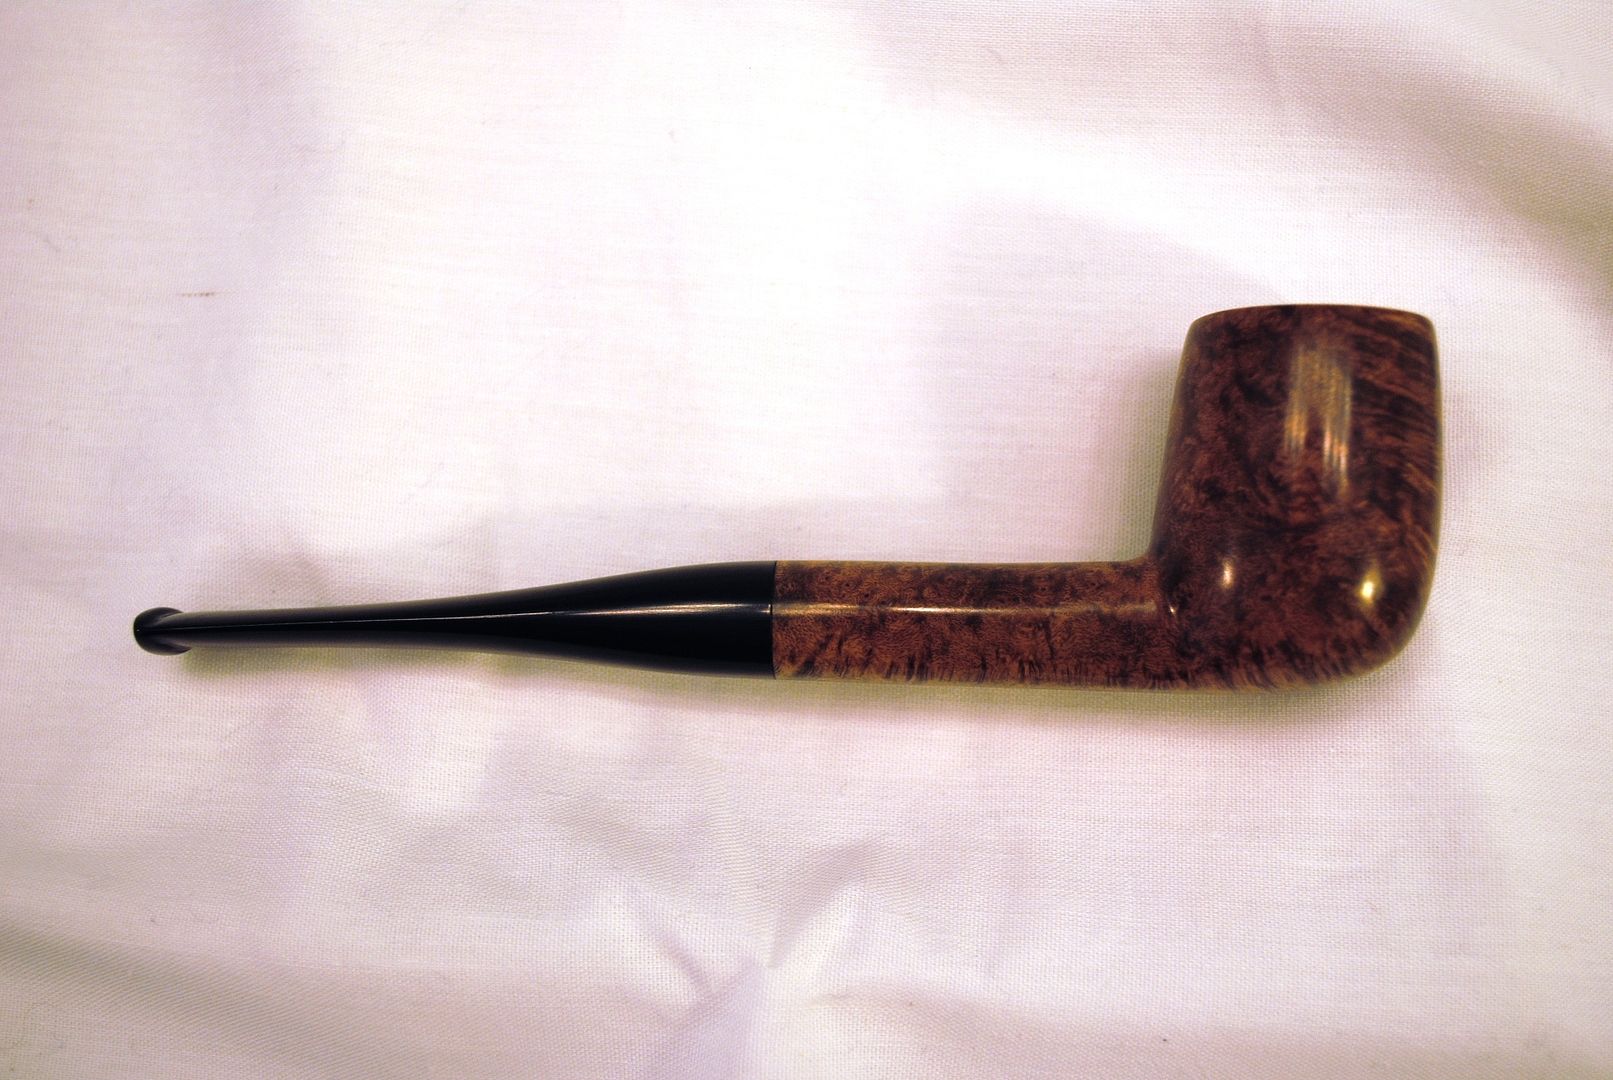
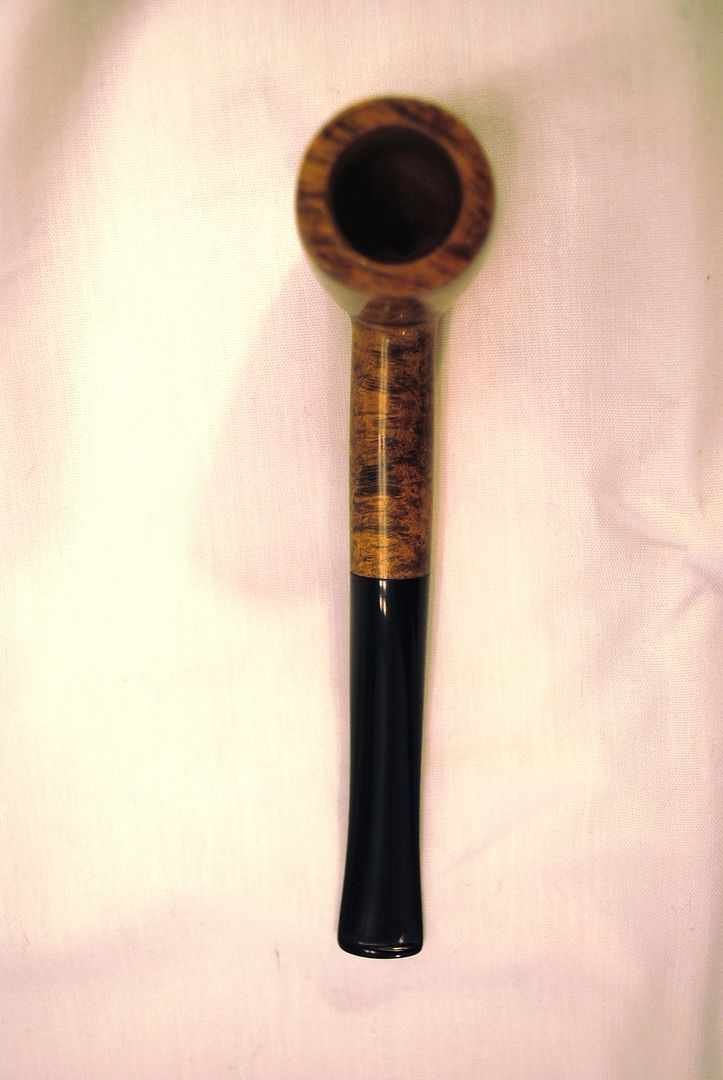
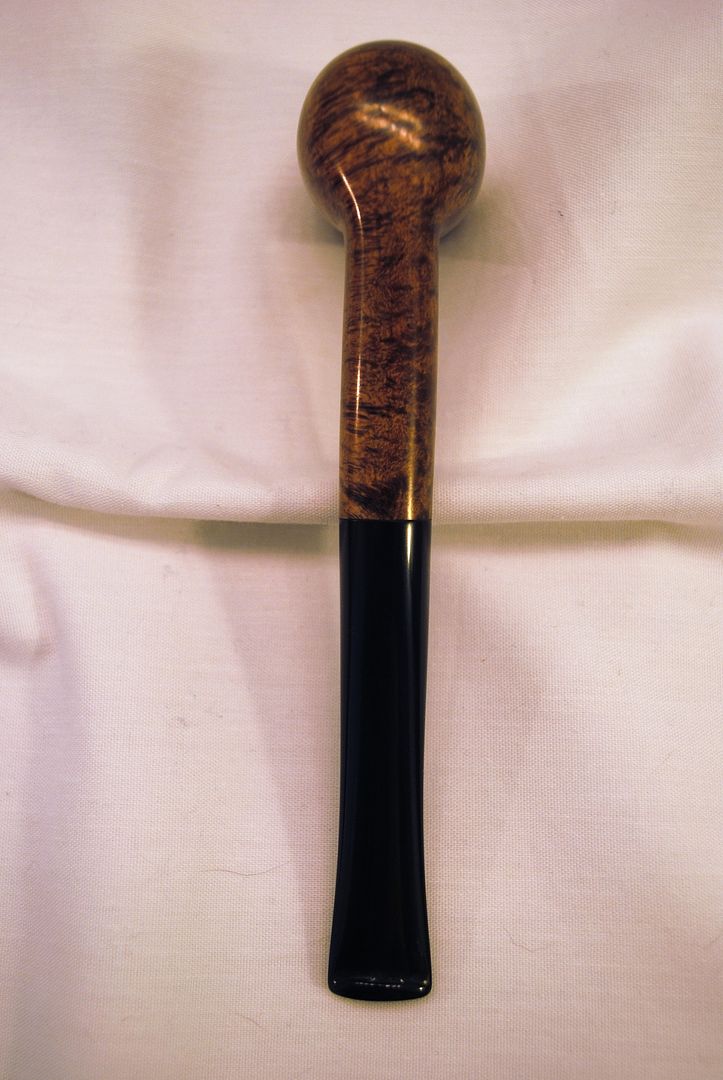
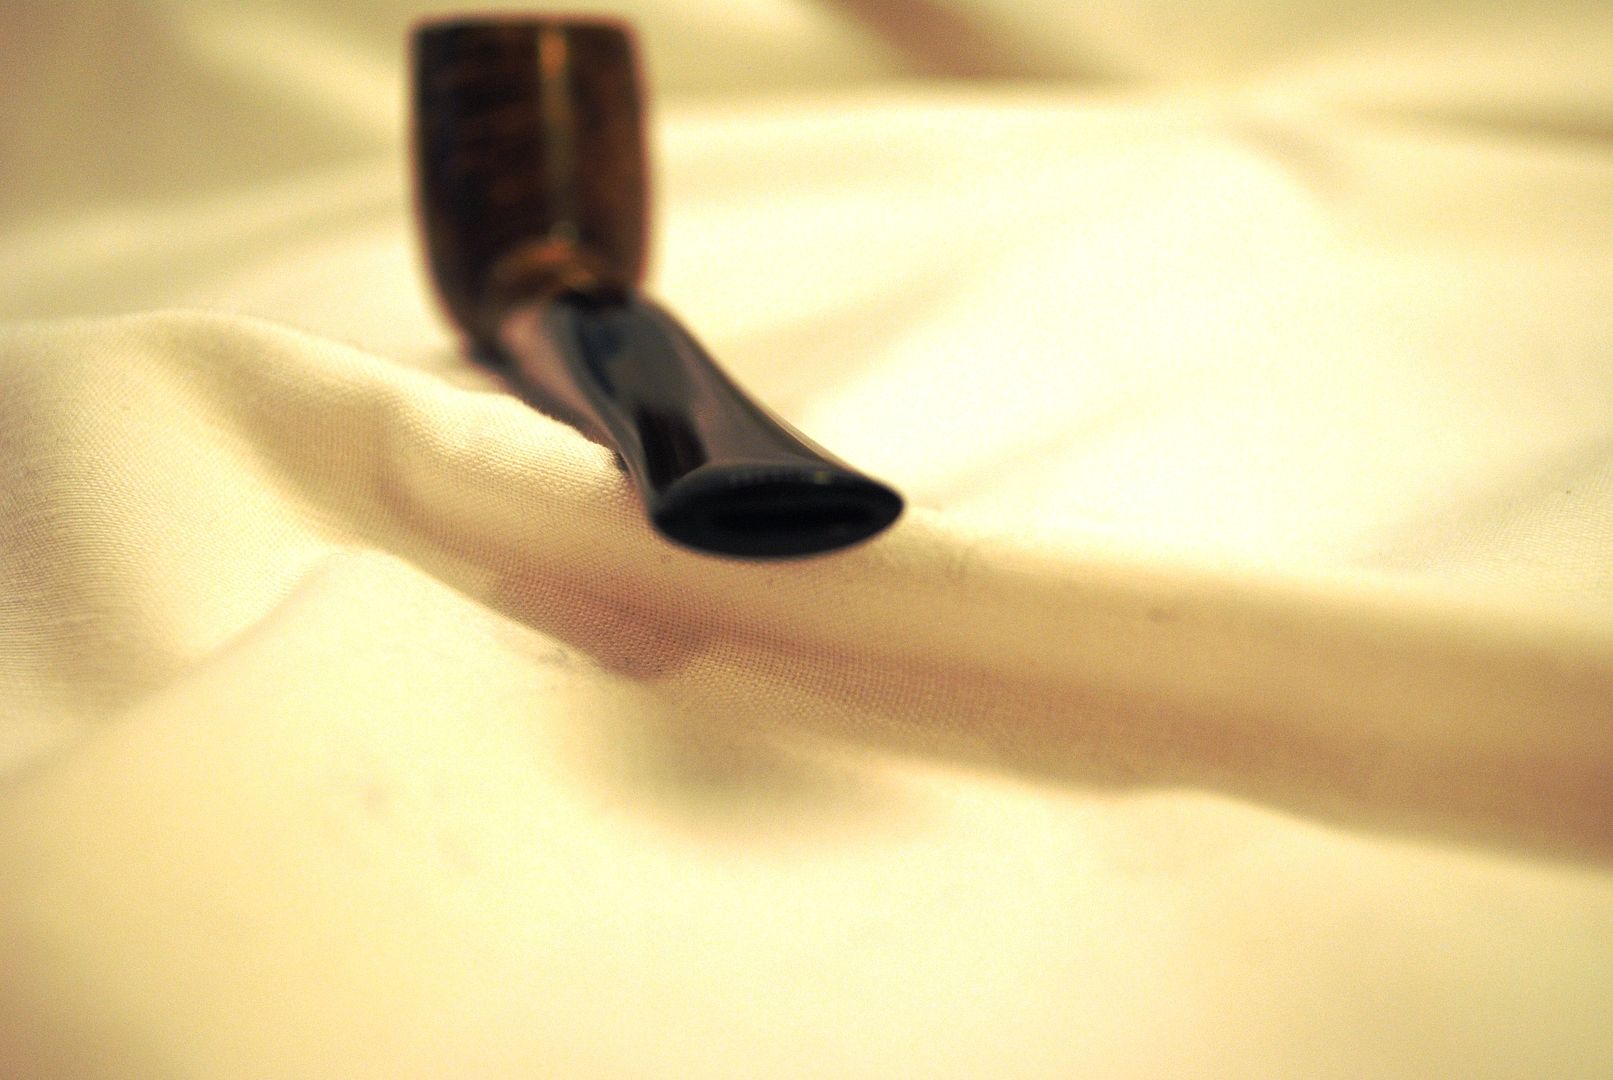
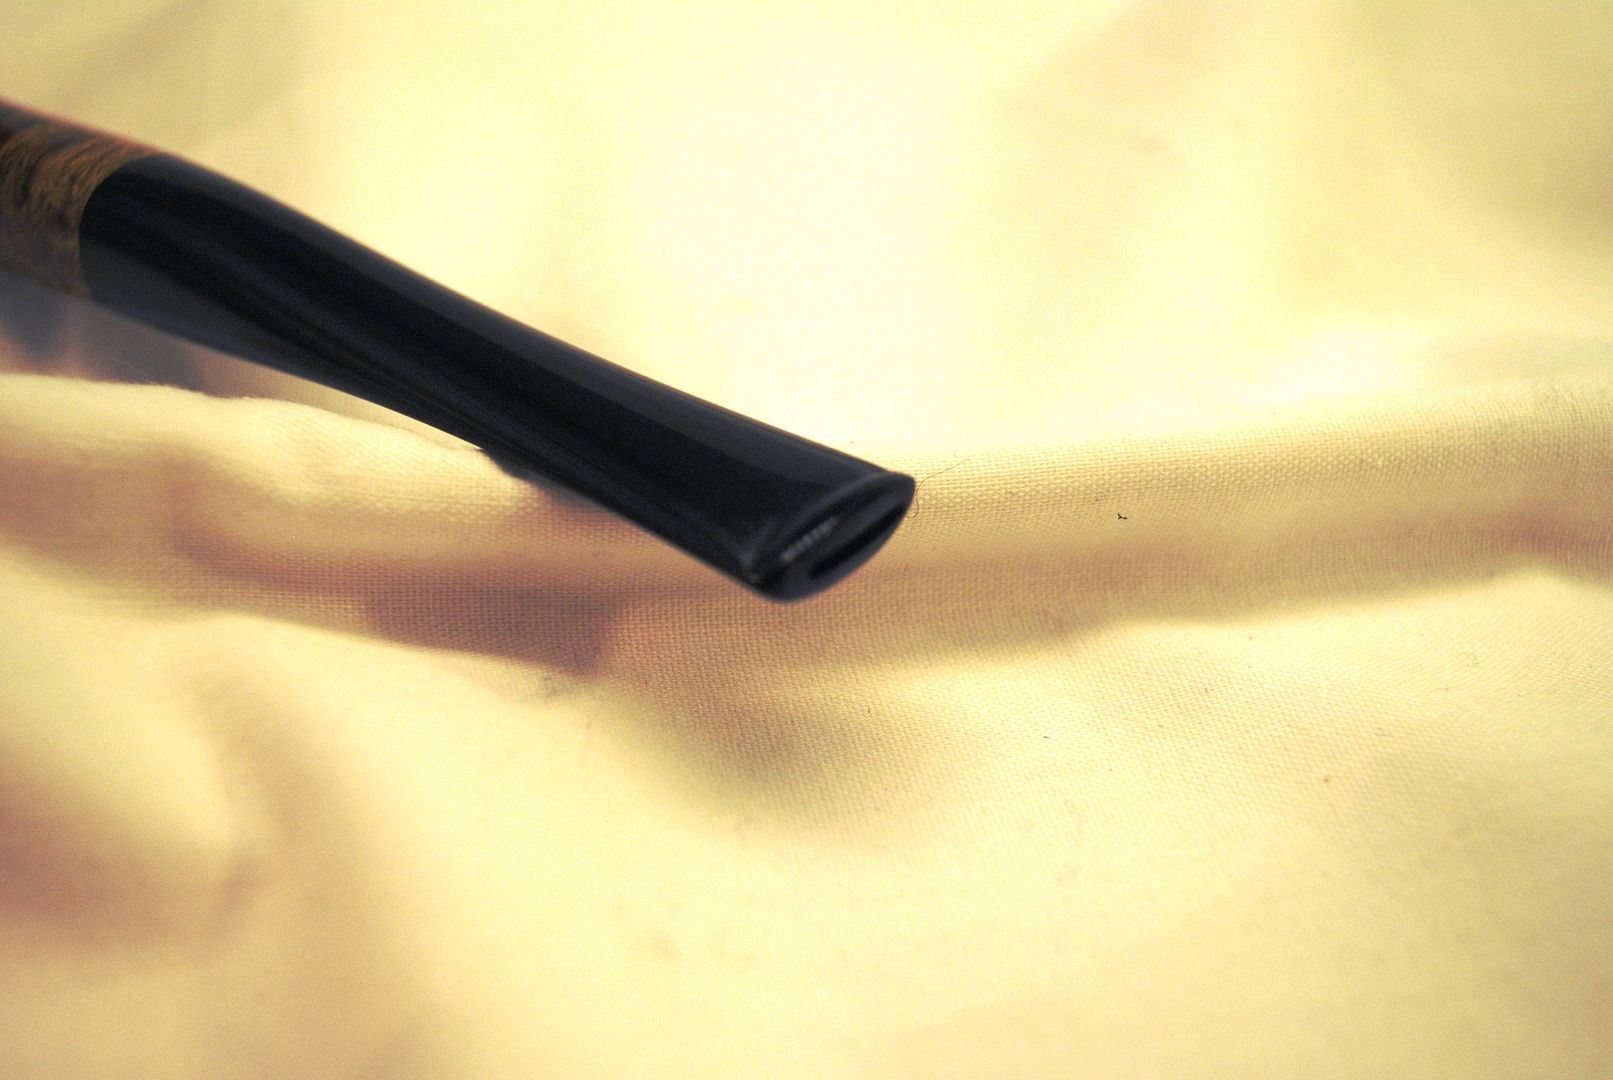
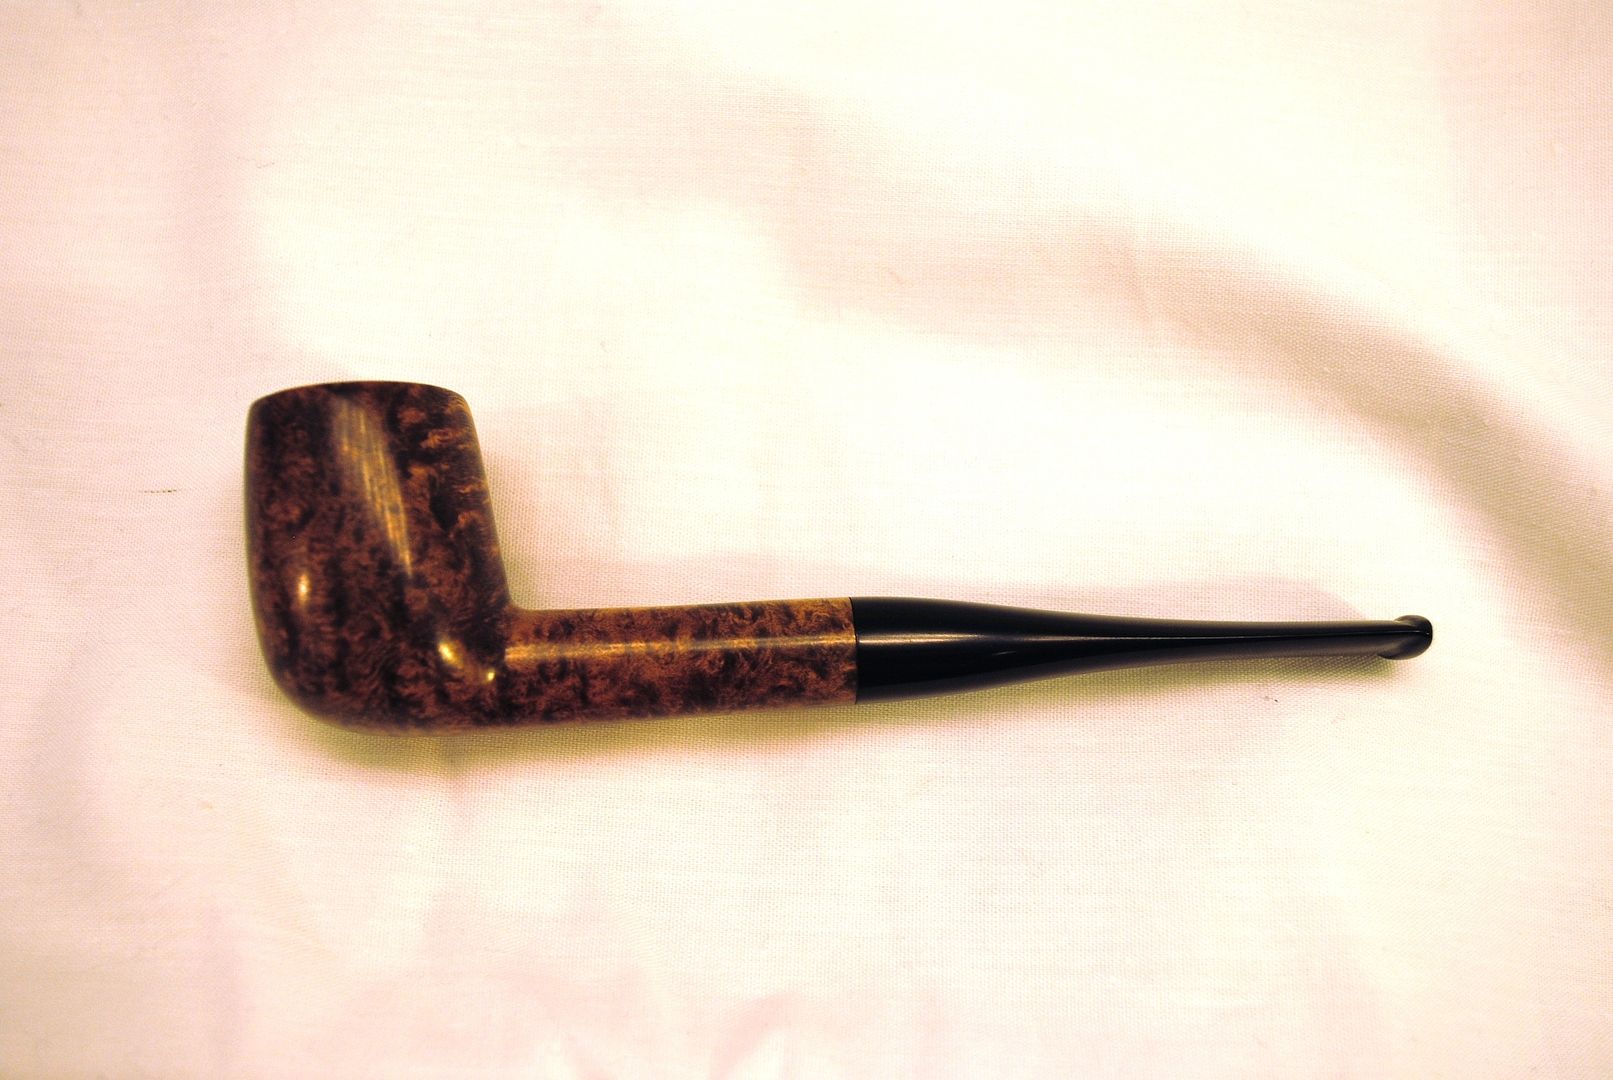
Here for your review is my third pipe - another billiard. Among (many) other things I am especially frustrated & need help with my finishing technique and button work.

All of my kits so far & the next two in line have been pre-drilled kits with pre-molded stems. I've found it kind of tricky to file down the existing wide button but practice makes perfect.

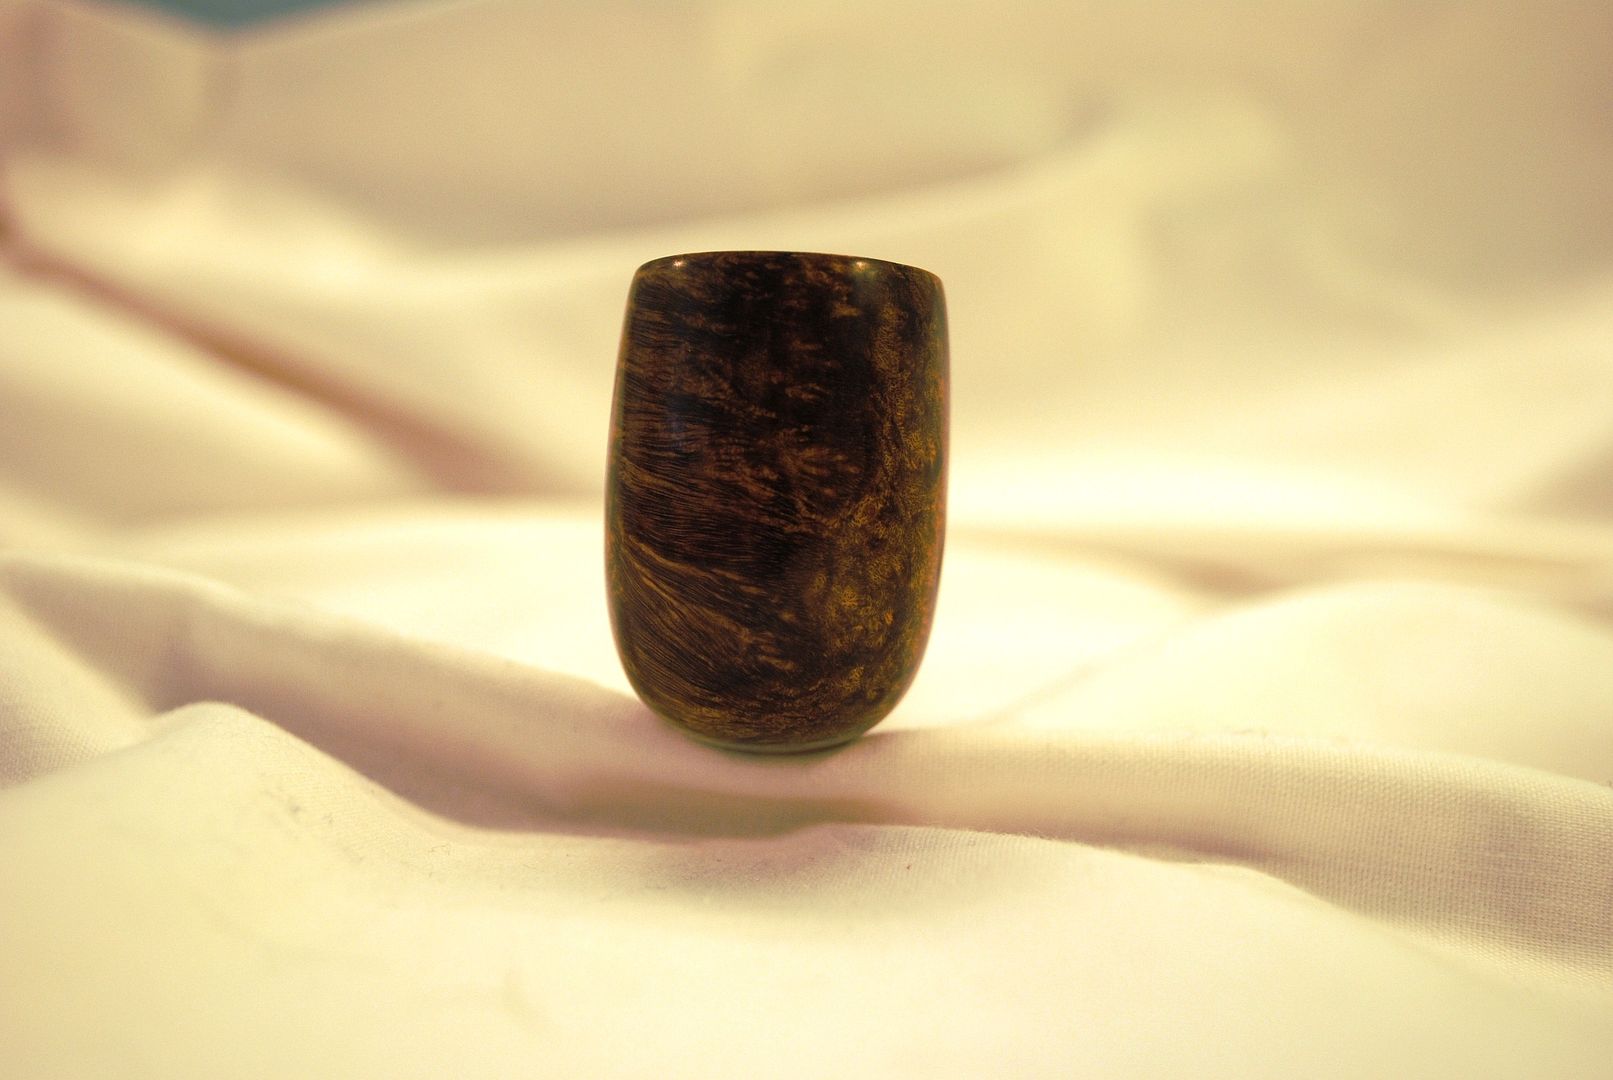
My finishing technique on this pipe was: Sand to 400 grit, stain black & let dry overnight. Sand to 400, stain brown & let dry overnight. Sand to 600, stain brown & let dry overnight. Sand with 1200, then tripoli buff, then wax. The stain I was using was the powder from PIMO mixed with denatured alcohol.

I really appreciate all of your suggestions, critiques and anything else!

-Chris
Image

Image

Image

Image

Image

Image

Image
User avatar
sandahlpipe
Posts: 2106
Joined: Mon Feb 04, 2013 8:49 pm
Location: Zimmerman, MN
Contact:

Re: Billiard #3

Post by sandahlpipe »

The stain doesn't look too bad to me.

The stem looks a bit odd. I would like to have seen a flat taper from shank face to behind the button.

The bowl shape is really close. The back of the bowl has just a hair too much material that should be on the front. Basically, if you could just push the middle and bottom of the bowl away from the shank by a millimeter or two, you'd be spot on.

Keep up the good work!
---
Fail early, fail often. Your success depends on it.

Jeremiah Sandahl
http://sandahlpipe.com
Houncer
Posts: 24
Joined: Sat Jan 05, 2013 7:11 am

Re: Billiard #3

Post by Houncer »

Thanks Jeremiah, I very tempted to take your suggestions and keep working on this pipe before moving to the next one. Would you recommend that or do you think it's best to just incorporate your ideas in the next pipe? I guess my real question is are pipe ever really finished & is there a point when you just move on? If so, how do you know when that time comes?
scotties22
Posts: 1767
Joined: Mon Jun 11, 2012 9:43 pm
Location: Missouri
Contact:

Re: Billiard #3

Post by scotties22 »

This pipe is finished.....it's good for a 3rd pipe. Take what you learn here and move on to the next.

I don't see a problem with the stain. What do you think is wrong with it?

From the top/bottom view your shank has a bulge just before you reach the bowl. As you are shaping make sure to throw a straight edge on it. Keep shaping, checking often, until that line is straight. Do this on the top and bottom as well as it looks like you have a touch of a dip in the top line of the shank.

I'm betting that stem came with the kit and you just sanded it, right? In that case there really isn't anything you can do with the taper. If you purchase another kit for a straight pipe ask if they have a stem that has a straight taper. This stem would be great on a bent pipe as the extra material is already removed and the stem is basically ready to bend.

All-in-all it's a great looking pipe.
Am I Calamity Jane or Annie Oakley??...depends on the day.
www.ladybriar.com
Houncer
Posts: 24
Joined: Sat Jan 05, 2013 7:11 am

Re: Billiard #3

Post by Houncer »

scotties22 wrote: As you are shaping make sure to throw a straight edge on it.
Oh wow, why didn't I think of that?? Lol. How embarrassing! The light bulb just turned on, thanks Scottie!

I will move on & apply to the next one. The stem did come with the kit. After my next two kits I am going to start cutting my own stems from rods.

Regarding the staining, I guess I just thought I was doing it wrong. It looked blotchy and uneven until the very even when things smoothed out considerably. There are a couple areas where it remains blotchy from sanding but doesn't show up in the pictures. Primarily it was the bowl top and stem/shank junction.

Thanks again for the feedback!
User avatar
sandahlpipe
Posts: 2106
Joined: Mon Feb 04, 2013 8:49 pm
Location: Zimmerman, MN
Contact:

Re: Billiard #3

Post by sandahlpipe »

Yeah. It's a good sign to feel like you want to go fix it on this pipe. But just move on to the next. Keep striving for perfection, but realize it's not going to happen.

As for the blotchy issue, I wouldn't stress too much about it at this point. Good finishes take months if not years to develop. Get out the sanding scratches before the base coat of stain. Try out finishes with scraps or pipes you messed up on. You'll get there eventually.
---
Fail early, fail often. Your success depends on it.

Jeremiah Sandahl
http://sandahlpipe.com
scotties22
Posts: 1767
Joined: Mon Jun 11, 2012 9:43 pm
Location: Missouri
Contact:

Re: Billiard #3

Post by scotties22 »

Something I have found very helpful, and I still do it, is to put a light coat of stain on before I sand at 220. This really helps me sand evenely and make sure I get out all the really heavy scratches and tool marks. Try it on the next pipe and see if that helps with the eveness of your stain.
Am I Calamity Jane or Annie Oakley??...depends on the day.
www.ladybriar.com
Houncer
Posts: 24
Joined: Sat Jan 05, 2013 7:11 am

Re: Billiard #3

Post by Houncer »

Thanks again, I started drawing on my next block & will use all of the tips you have me. Oh yeah, straight edge by my side this time. ;-)
Post Reply