:(

For discussion of the drilling and shaping of the stummel.
Post Reply
User avatar
prolax14
Posts: 26
Joined: Wed Sep 22, 2010 12:02 pm
Location: Washington, Pa

:(

Post by prolax14 »

Hey guys,
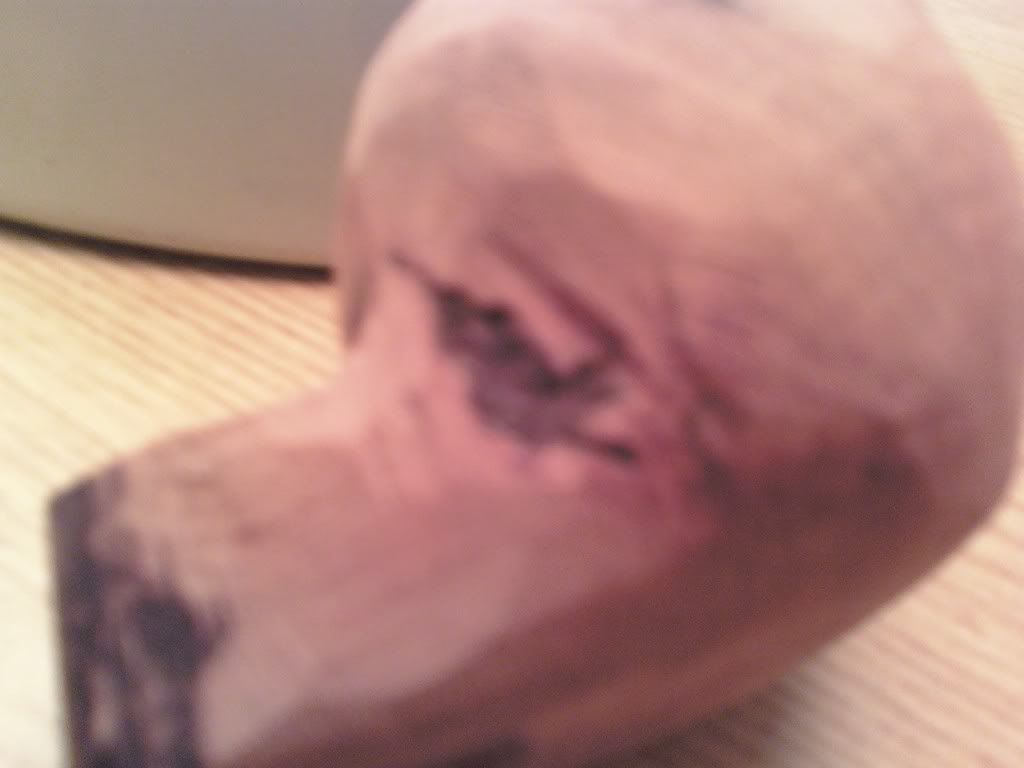
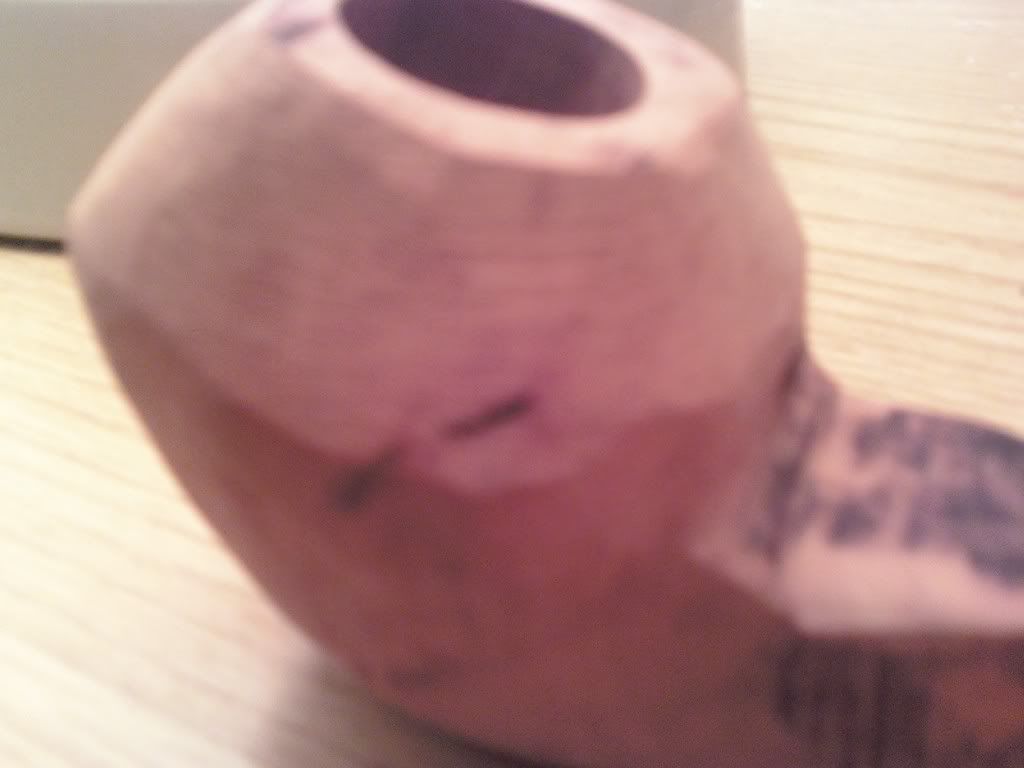
I was working on rough shaping a stummel for a curved bulldog im doing, and when i sanded a bit further down there is two pretty bad imperfections in the wood... wasnt sure if you guys had any ideas for them or if i should just try rusticating the whole pipe.. Thanks,
Zach Klein

IMG]http://i247.photobucket.com/albums/gg14 ... ummel1.jpg[/IMG]

Image
User avatar
prolax14
Posts: 26
Joined: Wed Sep 22, 2010 12:02 pm
Location: Washington, Pa

Re: :(

Post by prolax14 »

well shit.. forgot the first bracket haha

Image
User avatar
baweaverpipes
The Awesomer
Posts: 947
Joined: Tue Dec 19, 2006 8:07 am
Location: Franklin, Tennessee
Contact:

Re: :(

Post by baweaverpipes »

Well, from what I can see. Uh, I take that back, I can't see squat. It's apparent you're not related to Ansel Adams, but most pipe carvers are not photographers, ask that Rod Davies fellow.
User avatar
prolax14
Posts: 26
Joined: Wed Sep 22, 2010 12:02 pm
Location: Washington, Pa

Re: :(

Post by prolax14 »

ill check out the pipephotographersforum and repost this ! My cell phone camera does take pretty bad pictures though haha, there basically is two black spots, i dont know much about it but almost like rotted spots.
User avatar
KurtHuhn
Site Admin
Posts: 5326
Joined: Thu Nov 23, 2006 8:00 pm
Location: United States/Rhode Island

Re: :(

Post by KurtHuhn »

That happens to everyone, unfortunately. Every once in a while you get a block with a giant hidden flaw that only reveals itself after you've got into the block. Even buying good briar direct from the cutter won't mean this never happens. The flaws are, well, flaws in the wood - as with all burls, bark and stuff can get wrapped up inside the wood as it grows. I once cut into a block on my bandsaw and saw sparks - a stone about the size of a pea had gotten wrapped up inside the burl and was hiding there waiting for an unsuspecting saw blade to come by.

Your flaw, if I'm looking at the pics right, seems to extend from right to left all the way through. This is not common, but it does happen. Nothing you can do about it but move on and either finish the pipe or use it for firewood and start another.

You could actually finish this pipe. If the flaw does not extend into the bowl, just finish it out and give it a deep rustication. Even if the flaw does extend into the bowl, give it a good coat of bowl coating and smoke it carefully for the first few smokes.

Me, I'd toss it and start another - but that's usually because I'm in the shop to make money. For your purposes, it might be worth finishing out to get the practice.
Kurt Huhn
AKA: Oversized Ostrogoth
artisan@k-huhn.com
User avatar
prolax14
Posts: 26
Joined: Wed Sep 22, 2010 12:02 pm
Location: Washington, Pa

Re: :(

Post by prolax14 »

KurtHuhn wrote:I once cut into a block on my bandsaw and saw sparks - a stone about the size of a pea had gotten wrapped up inside the burl and was hiding there waiting for an unsuspecting saw blade to come by.

Your flaw, if I'm looking at the pics right, seems to extend from right to left all the way through.
Wow thats pretty crazy ! and the flaw actually isnt nearly as bad as the picture looks its just a small dark spot in the middle it isnt very deep, and doesnt go near the bowl . . the dark spots on the outside are from when i cut it out with my band saw it left dark burn marks just gotta sand those down. Yeah i think ill finish this one and and practice rusticating, unless the flaw disapears with a bit more sanding, do you have any recommendations about rustification, i honestly am nearly clueless how its done, i wish i could watch someone do it to have a better idea because it looks really cool, i have a feeling if a started taking it down with a small bur on my dremel it would look like shit, haha
Thanks,
Zach Klein
User avatar
DMI
Posts: 421
Joined: Mon Nov 02, 2009 8:48 pm
Location: Northern Ireland

Re: :(

Post by DMI »

Once you get the pipe the shape you want, with the stem attached, sand it to say 320. Any parts not to be rusticated should be sanded as fine as you go, the end of the shank and the rim for example.

Find a small dental burr, mine are all less than 1.5mm (1/16 ish), (round ended ones are easiest as they only require one pass) start somewhere and slowly work your way over the pipe keeping the depth even. Once you are done give the rusticated a area a good rub with an old toothbrush then give it a coat of dye. Repeat as often as you feel required, on some finishes I have been known to go over the surface six times.

For a coarser rustication use a bigger bit and dig a bit deeper, again you may want to do this a couple of times.

Practice on scrap to get used to how the bit cuts and the shape it leaves, dental burrs cut a lot quicker than diamond coated bits.

David.
User avatar
prolax14
Posts: 26
Joined: Wed Sep 22, 2010 12:02 pm
Location: Washington, Pa

Re: :(

Post by prolax14 »

Thanks David,

yeah ill practice with some scraps i got laying around, im still not 100% sure where exactly to dig in and not to to get some of the looks that you guys do, but i guess ill just learn that as i go :)

Thanks,
Zach Klein
User avatar
DMI
Posts: 421
Joined: Mon Nov 02, 2009 8:48 pm
Location: Northern Ireland

Re: :(

Post by DMI »

' im still not 100% sure where exactly to dig in and not to to get some of the looks that you guys do,'

As your teacher would say please expand.

Is it where on the pipe to start or how craggy you want it?
User avatar
prolax14
Posts: 26
Joined: Wed Sep 22, 2010 12:02 pm
Location: Washington, Pa

Re: :(

Post by prolax14 »

Basically i have a pretty good idea where i would want it im just not sure how deep i would go or if there is a certain pattern i should cut in, do you know if there is any videos of someone rusticating a stummel, i think it would be helpful to just see it done first hand.
Thanks,
Zach Klein
User avatar
KurtHuhn
Site Admin
Posts: 5326
Joined: Thu Nov 23, 2006 8:00 pm
Location: United States/Rhode Island

Re: :(

Post by KurtHuhn »

To be perfectly honest, and to borrow a line from Todd, "there are no rules".

Just start beating up the wood and see what happens. A very nice rustication can be done with a 3 or 4mm ball bit (not a diamond ball, but one with cutting edges) on a dremel. It leaves a smooth surface, but one that's got a nice even rustication. For more depth, start with a smaller ball bit and dig deeper. Leave some high points, and don't knock everything down to the same level. Then get a smaller bit, and start working over the entire pipe. then an even smaller bit, working over the places between and under high points, and get the tops of the high points beat up as well.

Some very interesting rustication can be attained this way. The rustication on the base of this pipe was done like that, using successively smaller bits:
Image
Kurt Huhn
AKA: Oversized Ostrogoth
artisan@k-huhn.com
User avatar
Walle
Posts: 234
Joined: Sat Dec 23, 2006 5:45 pm
Location: Germany
Contact:

Re: :(

Post by Walle »

Zach,

you want to make a Bulldog, right?
You want it to look decent when it´s done, right?
I reckon that won´t work with this wood, the flaw´s just too big and ugly :( .
So stop to work on this one wasting your time and effort.

Follow instead the wise advice of my master Gerhard Wilhelm:
"You cannot throw away a piece of wood too early."
BTW: Briar burns as hot as coal :).

Cheerio!
Walle
Pipes That Make You Smile
www.blue-lobster-pipes.com
User avatar
prolax14
Posts: 26
Joined: Wed Sep 22, 2010 12:02 pm
Location: Washington, Pa

Re: :(

Post by prolax14 »

haha well perhaps ill be able to keep myself warm with this piece on a cool winter night :)

Thanks Guys,
Zach
Post Reply