We are both running similar test runs with similar results thus far. And we were both going to try to photograph our work, except that I was having camera issues that day, so most of these pictures, with the exception of the boiling, were taken by Richard.
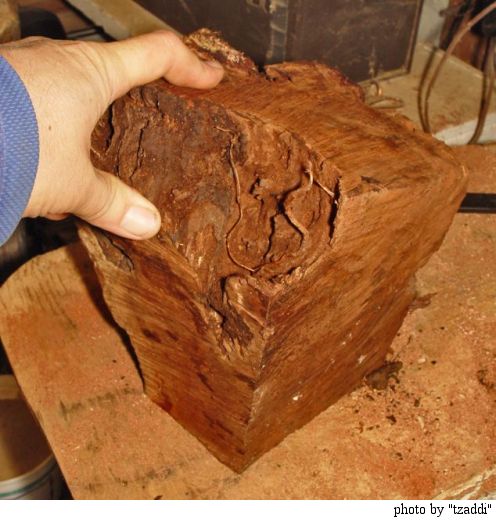
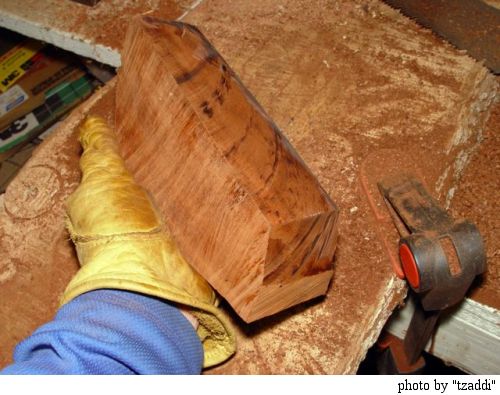
Richard looking the block over and preparing to saw.
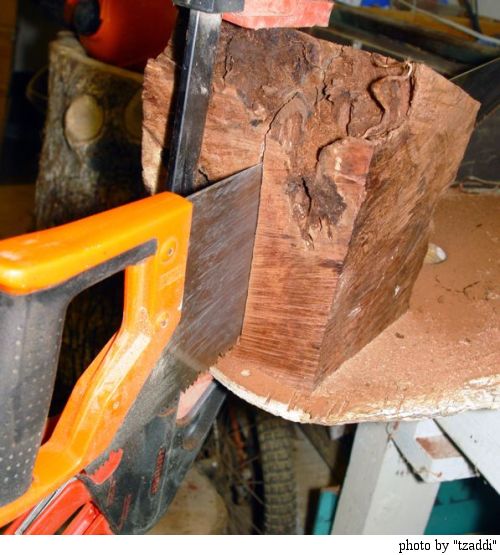
Taking off a slice.

Cut completed.
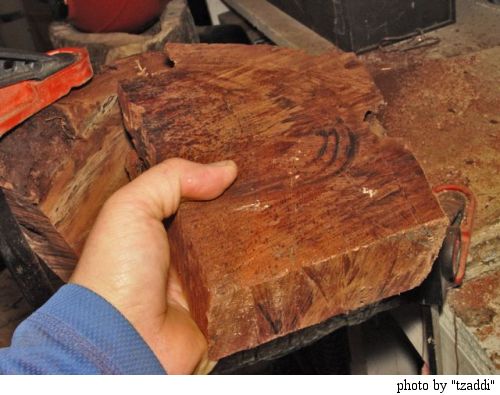
Inspecting.
One block, ready to boil.
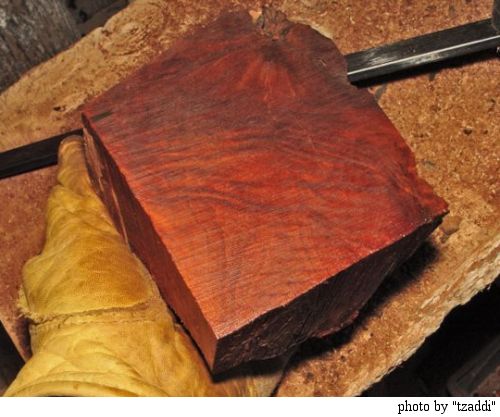
A really cool block with some nice figure.
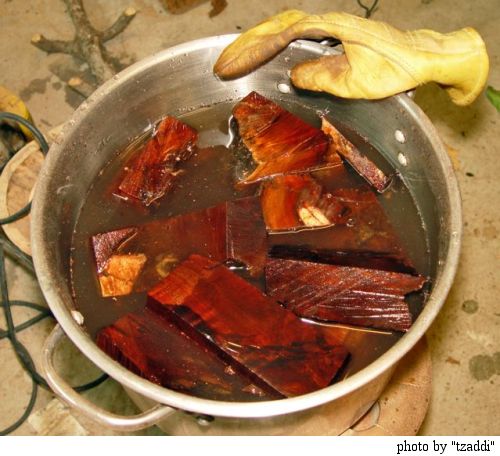
Blocks ready to boil.
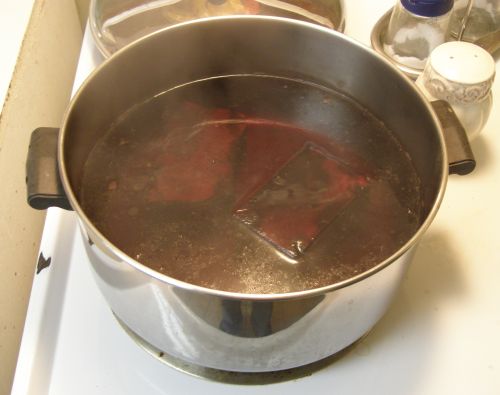
Blocks boiling.
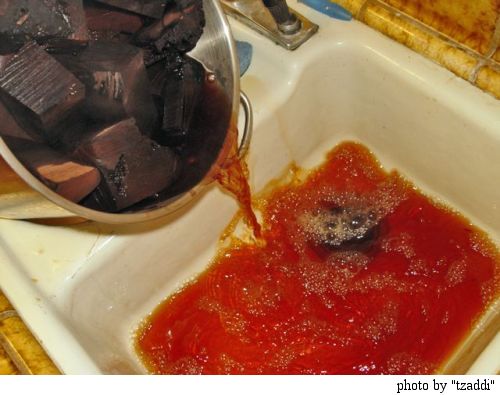
Draining off the water. Note the color of the water.
Once the blocks cooled and the surface moisture had evaporated, we both placed our blocks in ziplock bags for storage. Richard had a really good idea of putting a date on his bags, and I did the same.
Our plan is to let the blocks spend a few weeks in the sealed ziplock bags so they can reach some sort of moisture equilibrium
And then we plan to start the second stage of the drying process, by poking one finger-sized hole in the ziplock bag in about a month.
Depending on how that drying proceeds, we may poke an additional hole in the bag in two or three months, or we may just let that one finger-sized hole in the bag do the trick.