#12 Egg

Want to show you work to the world? Want a place to post photos of your work and solicit the opinions of those that have gone before you? Post your work here.
Post Reply
User avatar
Jakub P.
Posts: 51
Joined: Tue Feb 16, 2016 11:46 am
Location: Ireland, Tralee, Co. Kerry

#12 Egg

Post by Jakub P. »

I was about to start another lovat when I found this topic:

viewtopic.php?f=18&t=10031&hilit=egg

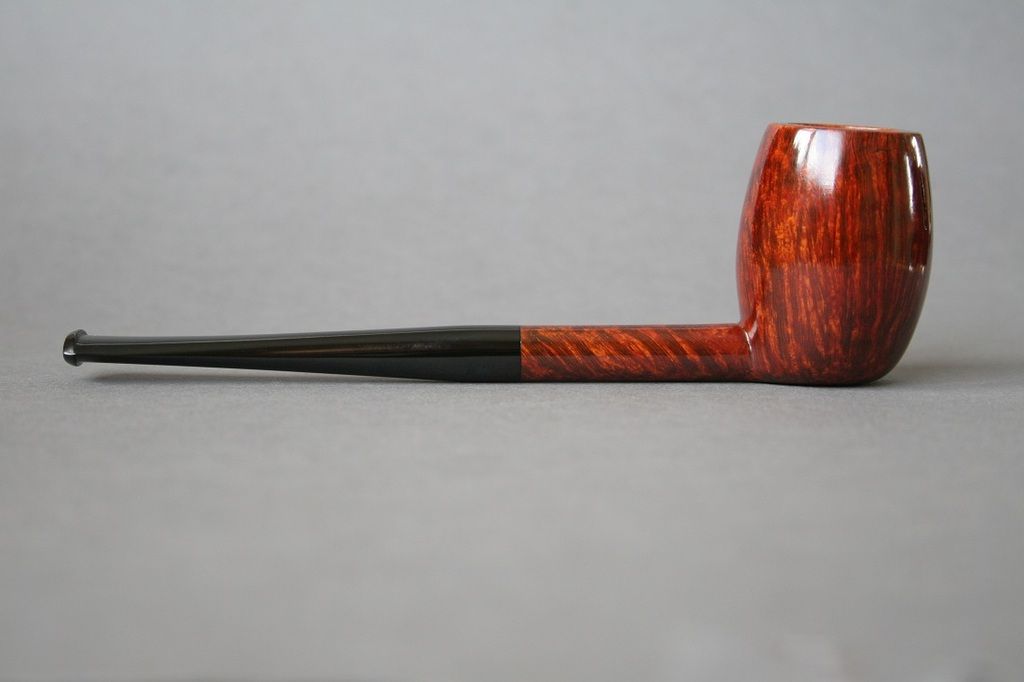
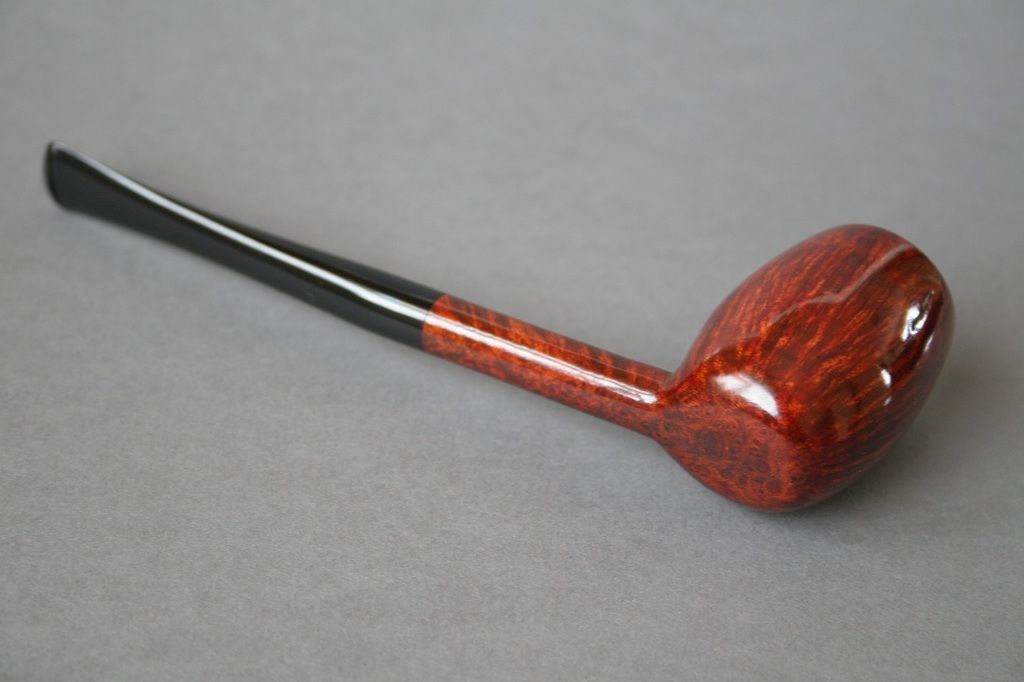
I believe I owe Scottie some apologies for such a lousy interpretation of her pipe ;) Sorry, I did the best I could.

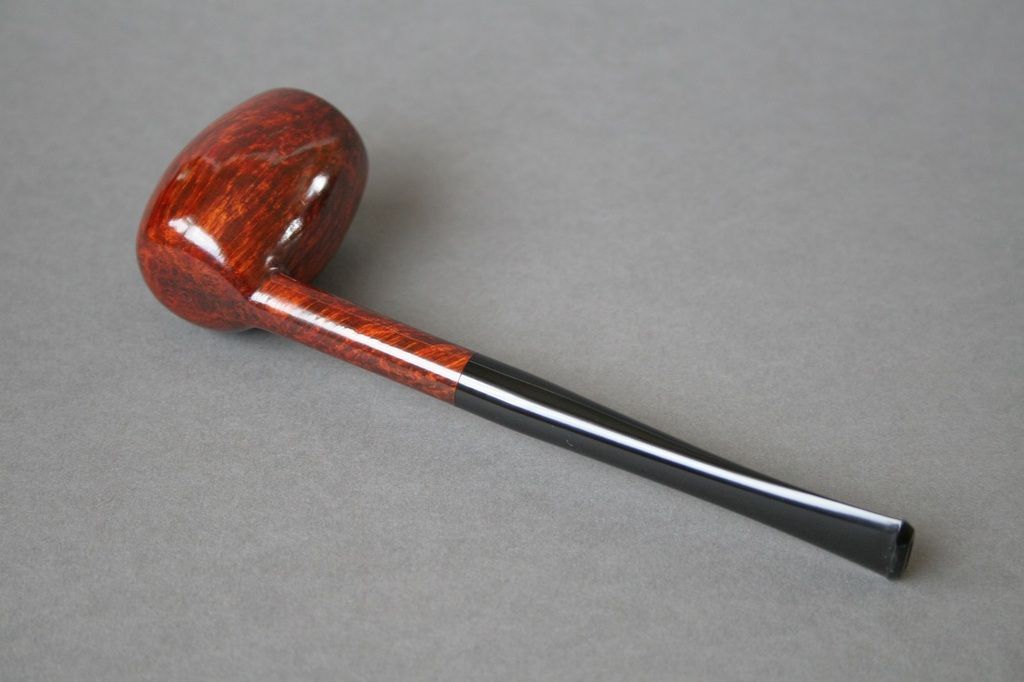
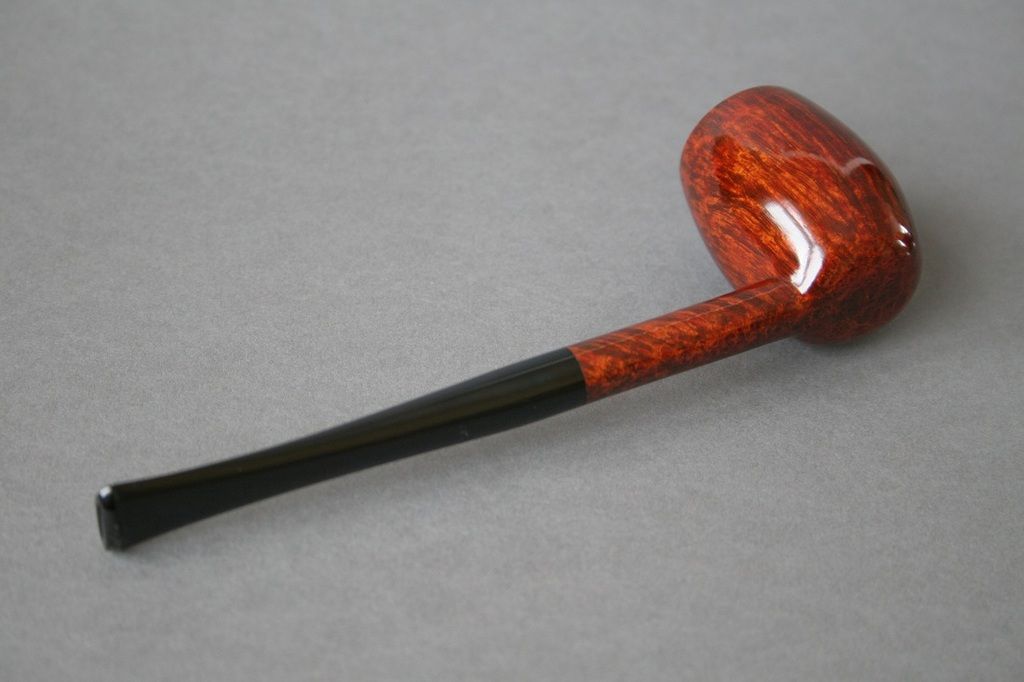
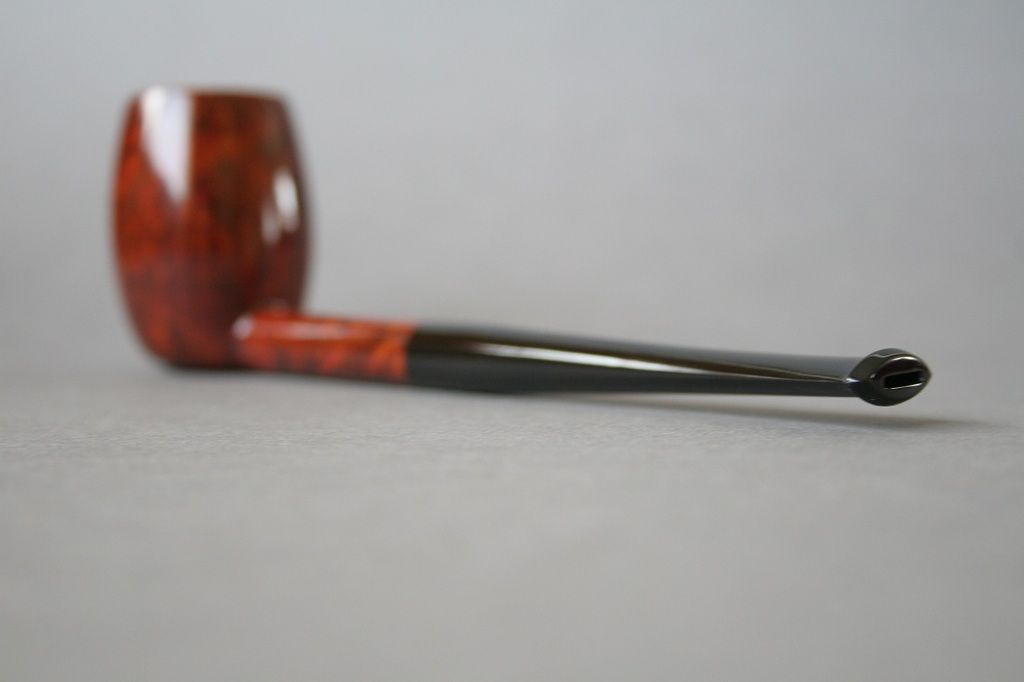
Again, I didn't manage to handle with the bottom. In my plans it was supposed to look different. More rounded I think.
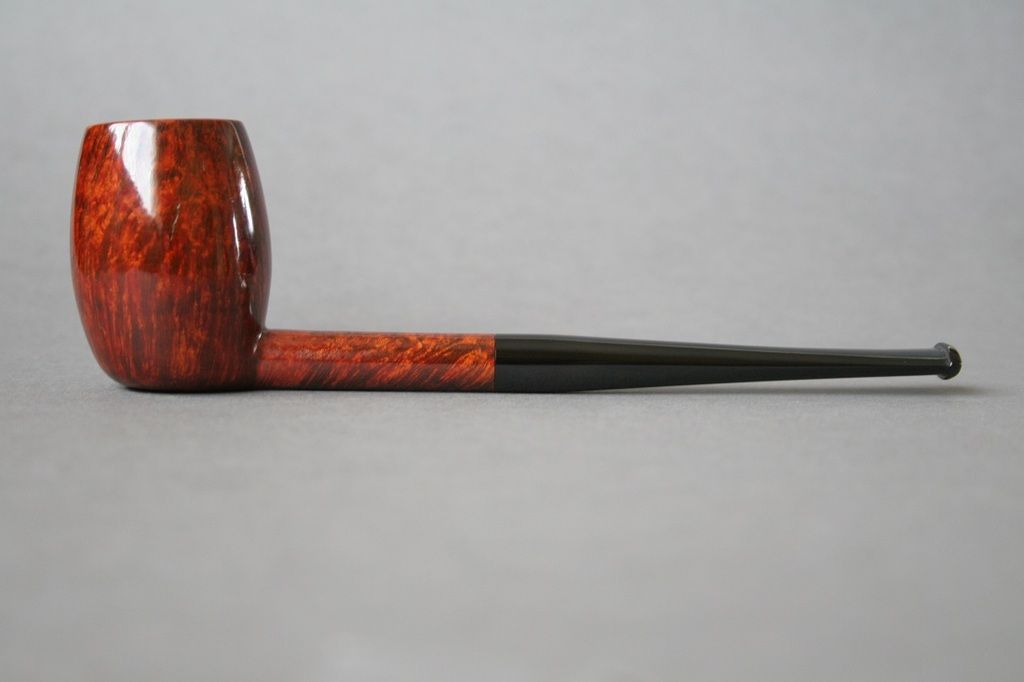
I still struggle with contrast staining. Improving but slowly.
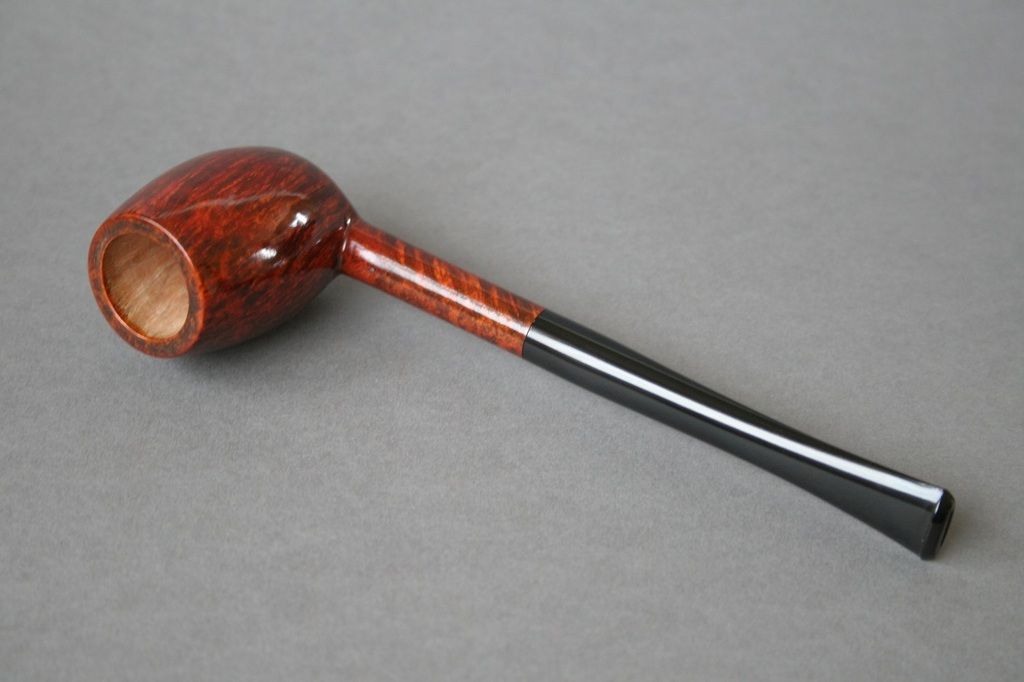
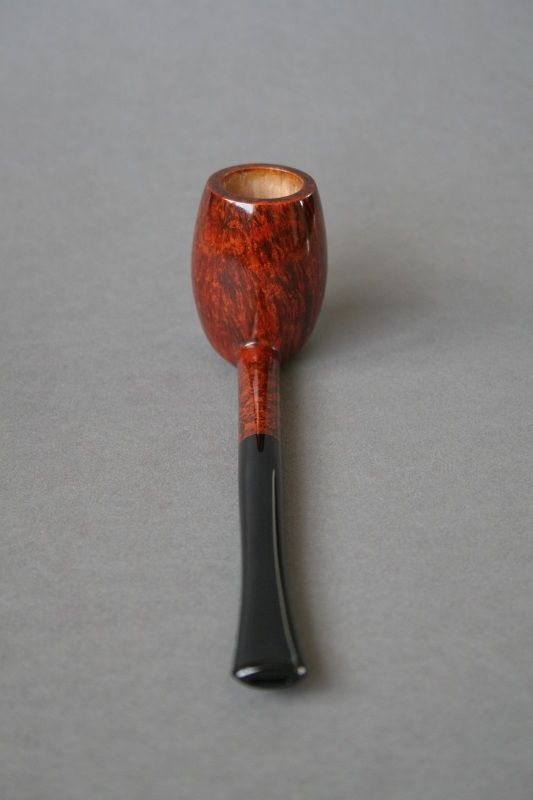
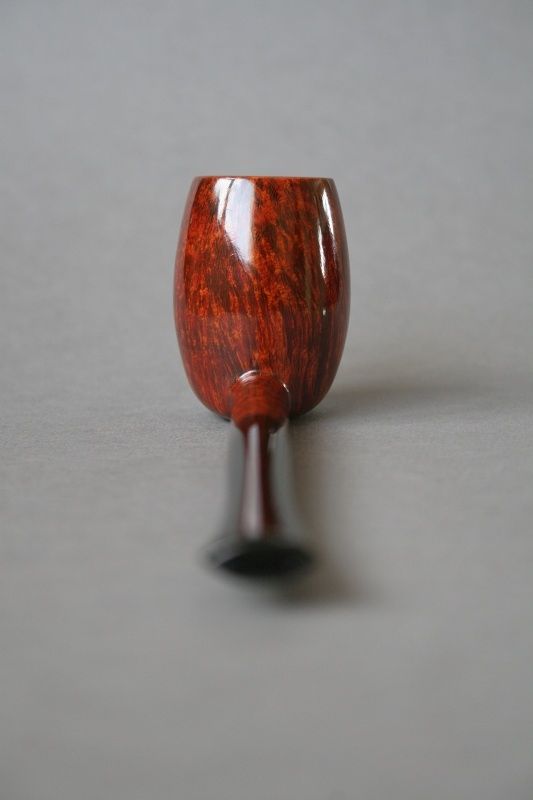
When I've reached the point of no return this massive crack in the bowl appeared. A deep one. All I could do was to finish it for training purposes. Fortunately it doesn't reach the chamber. So it's still smokable. But in this circumstances it doesn't really matter.
Now I see some stain left at the top of the chamber. Probably it's the only resemblance to Scottie's pipe ;)


Image

Image

Image

Image

Image

Image

Image

Image

Image
"Making pipes is easy. Making GOOD pipes is hard. Just keep at it and never be satisfied" - George Dibos

www.nouw.com/jp_pipes/about-me
www.etsy.com/ie/shop/JPPipes?ref=search_shop_redirect
www.facebook.com/JP-Pipes-962144290546960/?ref=hl
User avatar
sandahlpipe
Posts: 2106
Joined: Mon Feb 04, 2013 8:49 pm
Location: Zimmerman, MN
Contact:

Re: #12 Egg

Post by sandahlpipe »

1. There's a bulge on the stem past the shank. You want a straight taper to the shank face on the stem.
2. The rim was neglected in sanding prior to the staining. Looks like perhaps tearout or just not sanded smoothly enough. Proper sanding is important to getting a good contrast stain.
3. The flat bottom of the pipe makes the whole bottom of the bowl look weird. The curve on the shank-side of the bowl looks good, but the front of the bowl doesn't match because there's too much of a chin.
---
Fail early, fail often. Your success depends on it.

Jeremiah Sandahl
http://sandahlpipe.com
User avatar
Jakub P.
Posts: 51
Joined: Tue Feb 16, 2016 11:46 am
Location: Ireland, Tralee, Co. Kerry

Re: #12 Egg

Post by Jakub P. »

Thank you Jeremiah.

sandahlpipe wrote:2. The rim was neglected in sanding prior to the staining. Looks like perhaps tearout or just not sanded smoothly enough. Proper sanding is important to getting a good contrast stain.
It happens when I polish the rim on buffing wheel. If I push too hard I end up with rounded rim. If I don't push hard enough I manage to preserve sharp edge but with uneven staining.
"Making pipes is easy. Making GOOD pipes is hard. Just keep at it and never be satisfied" - George Dibos

www.nouw.com/jp_pipes/about-me
www.etsy.com/ie/shop/JPPipes?ref=search_shop_redirect
www.facebook.com/JP-Pipes-962144290546960/?ref=hl
DocAitch
Posts: 1111
Joined: Mon Dec 14, 2015 12:44 am
Location: Baltimore, Maryland

Re: #12 Egg

Post by DocAitch »

I like this pipe, I would smoke it.
I do see a curve in the stem/ shank unit on the 7th photo, seems to curve to the left slightly. I agree with Jeremiah that the stem need a bit more taper in the first 1/2. George Dibos suggested using a fingernail emery board to shape in this area, and that is working well for me.
I would also taper the bottom of the bowl more (like Jeremiah suggested), removing the chin and making the bottom pointier, like an American football (or rugby ball).
There is also some round over from sanding at the top of the bowl. This would be helped by using a stiffer sanding backer (there are some commercial ones available that are a firm sponge material) , and hold the backer so that the pressure from your fingers is in the middle, not at the top end.
DocAitch
ps - just saw your comment on the buffing. That is technique, and I am still struggling with that myself.
"Hettinger, if you stamp 'hand made' on a dog turd, some one will buy it."
-Charles Hollyday, pipe maker, reluctant mentor, and curmudgeon
" Never show an idiot an unfinished pipe!"- same guy
User avatar
sandahlpipe
Posts: 2106
Joined: Mon Feb 04, 2013 8:49 pm
Location: Zimmerman, MN
Contact:

Re: #12 Egg

Post by sandahlpipe »

Jakub P. wrote:It happens when I polish the rim on buffing wheel. If I push too hard I end up with rounded rim. If I don't push hard enough I manage to preserve sharp edge but with uneven staining.
Flat rims are boring anyways. A slight dome would both improve the look and make buffing the middle of the rim easier. Also, look into sealing the stain before buffing. The usual shellac before buffing will help keep your finish more even. Besides, reading about shellac on the forum is entertaining.
---
Fail early, fail often. Your success depends on it.

Jeremiah Sandahl
http://sandahlpipe.com
User avatar
Jakub P.
Posts: 51
Joined: Tue Feb 16, 2016 11:46 am
Location: Ireland, Tralee, Co. Kerry

Re: #12 Egg

Post by Jakub P. »

Thanks guys. I feel optimistic again.
"Making pipes is easy. Making GOOD pipes is hard. Just keep at it and never be satisfied" - George Dibos

www.nouw.com/jp_pipes/about-me
www.etsy.com/ie/shop/JPPipes?ref=search_shop_redirect
www.facebook.com/JP-Pipes-962144290546960/?ref=hl
Charl
Posts: 1901
Joined: Mon Jan 07, 2008 3:03 pm
Location: South Africa

Re: #12 Egg

Post by Charl »

:lol: A very good reason to feel optimistic, I'd say!
1) You made a pretty decent pipe.
2) The guys made an effort to give you critique, so you're moving in the right direction.
3) And you're having fun, hopefully!
Keep it up!
LatakiaLover
Posts: 3120
Joined: Sun Sep 02, 2007 4:29 am
Location: Kansas City, USA
Contact:

Re: #12 Egg

Post by LatakiaLover »

You don't want a step/bulge in the taper of the stem. Of necessity, there must be an almost imperceptible "feathered" rounding-over just before the stem meets the shank, but nothing like a bulge.

Also, watch your centerline. This pipe's stem curves upward slightly. (nothing that a bit of heat won't take care of easily, though)

Image
UFOs must be real. There's no other explanation for cats.
Post Reply