#8

Want to show you work to the world? Want a place to post photos of your work and solicit the opinions of those that have gone before you? Post your work here.
Post Reply
User avatar
Jakub P.
Posts: 51
Joined: Tue Feb 16, 2016 11:46 am
Location: Ireland, Tralee, Co. Kerry

#8

Post by Jakub P. »

Hi guys. I'd like to share some thought with you before I start.
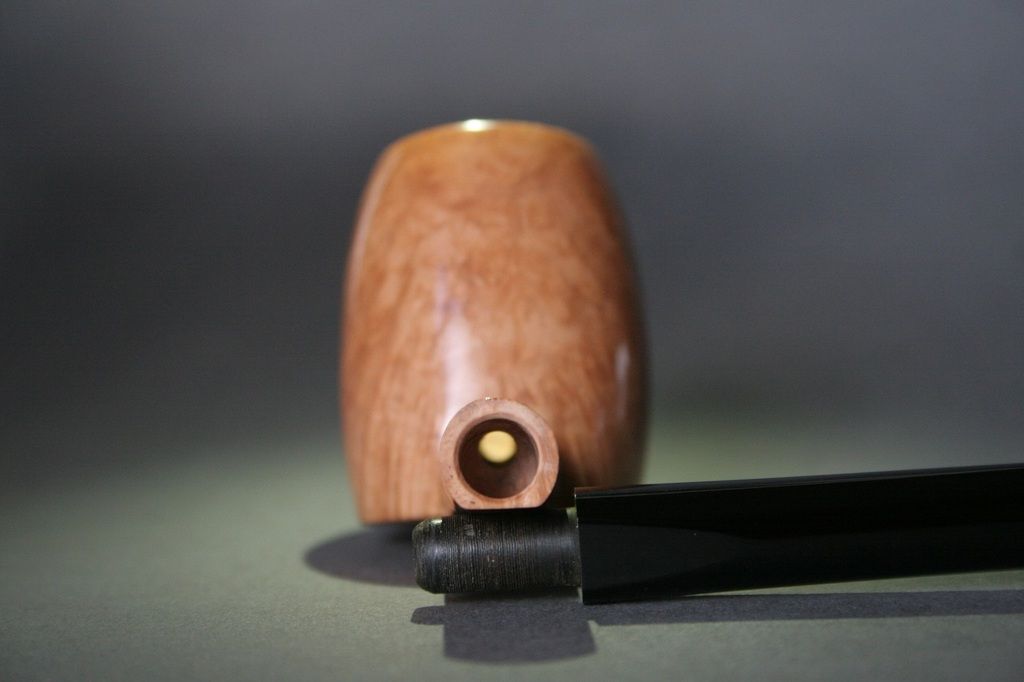
Every time when I finish new pipe I'm pleased with final result ... more or less.
But when I take the photos of it, I end up with "what a crap". Every single time.
My conclusion is, it's not easy to make a good looking pipe. But making good looking pipe on photos is even harder.

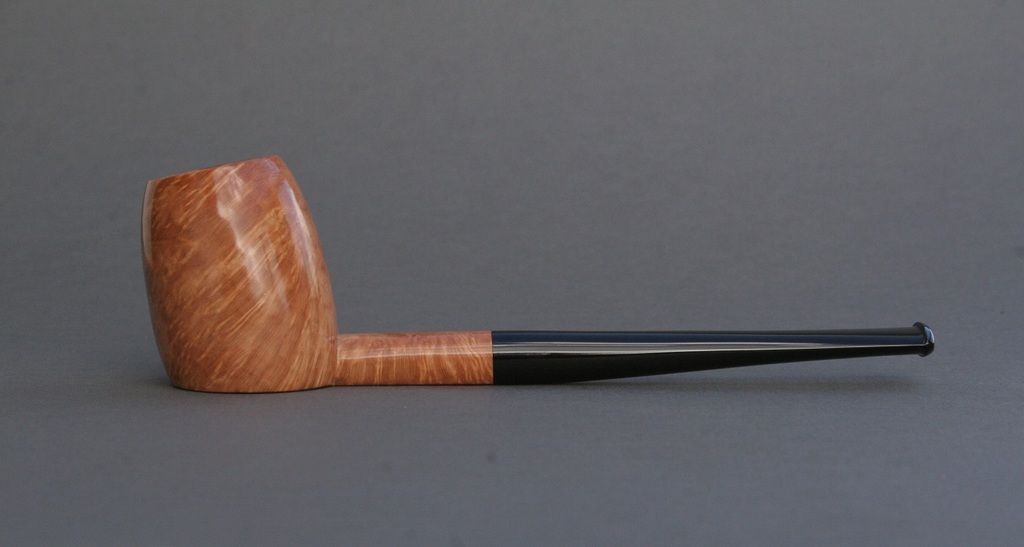
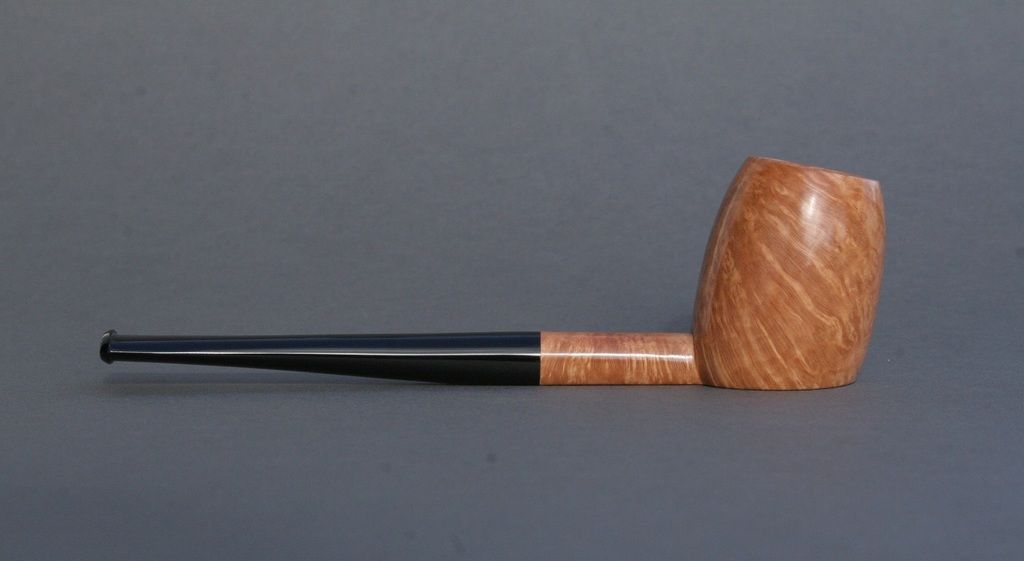
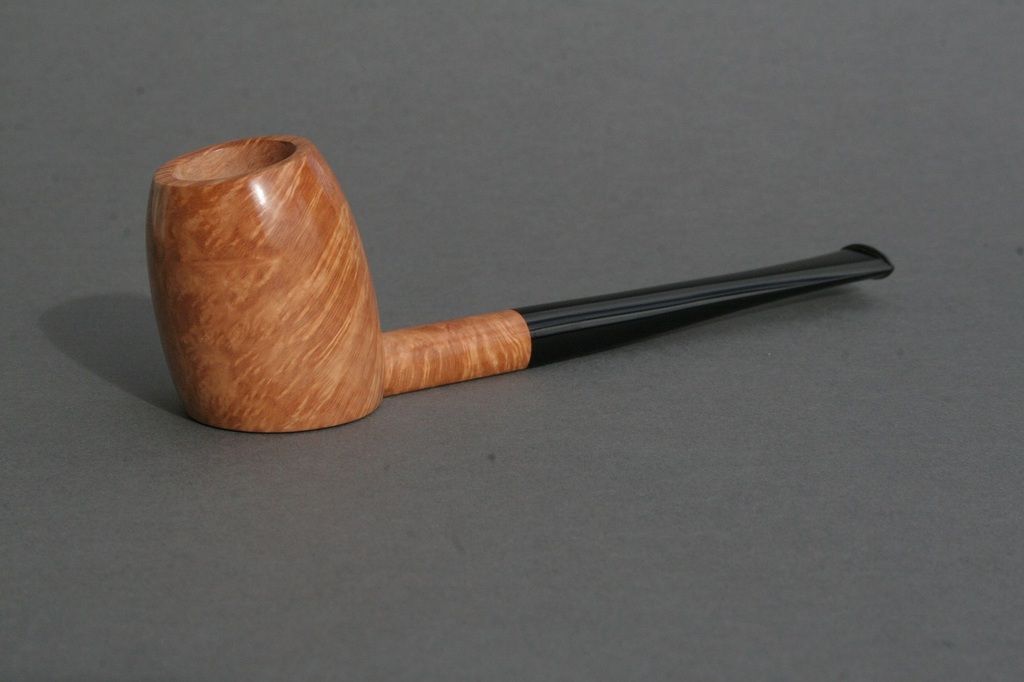
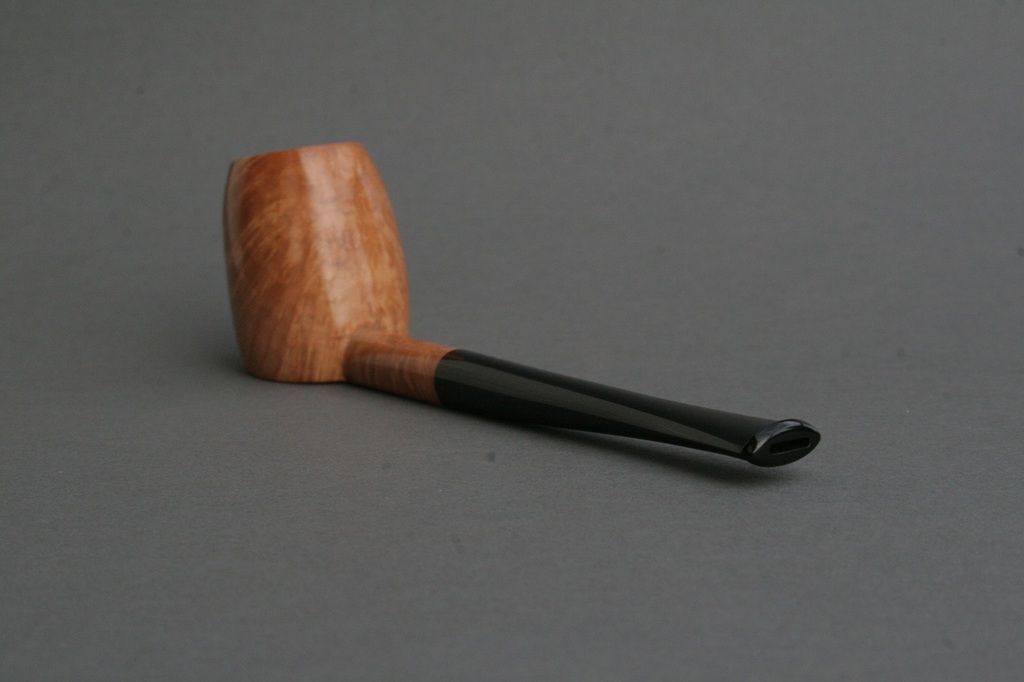
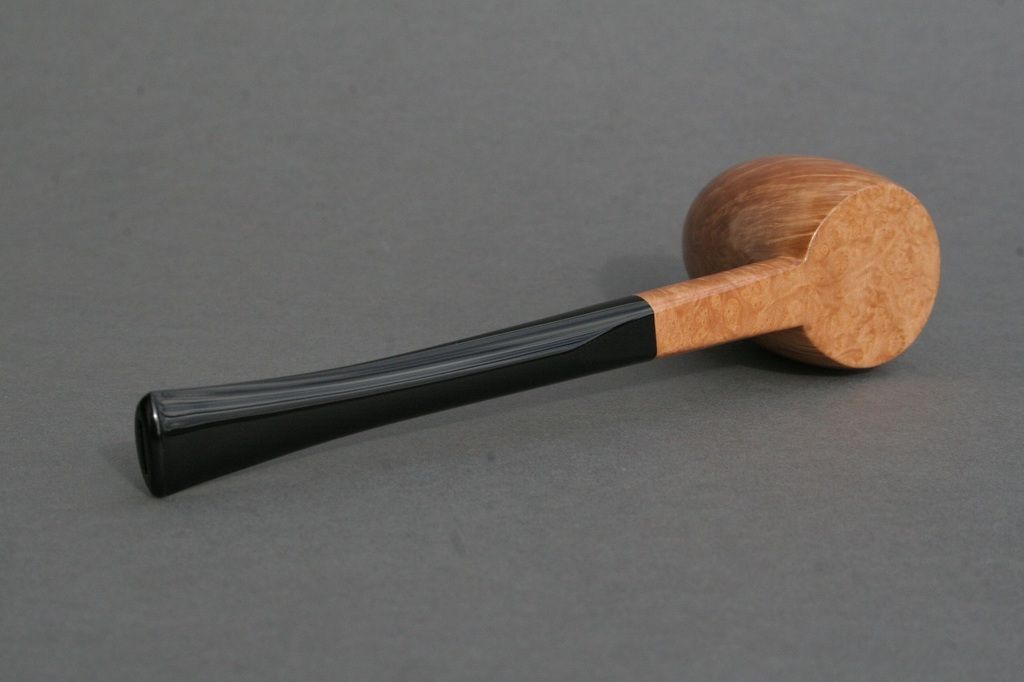
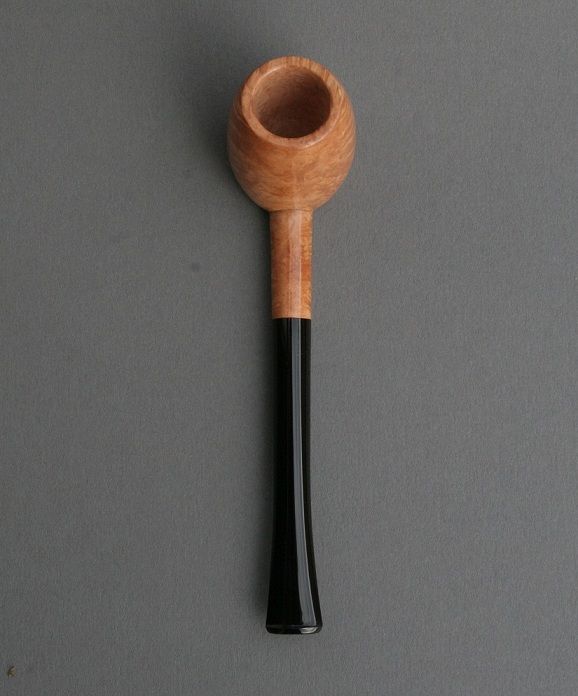
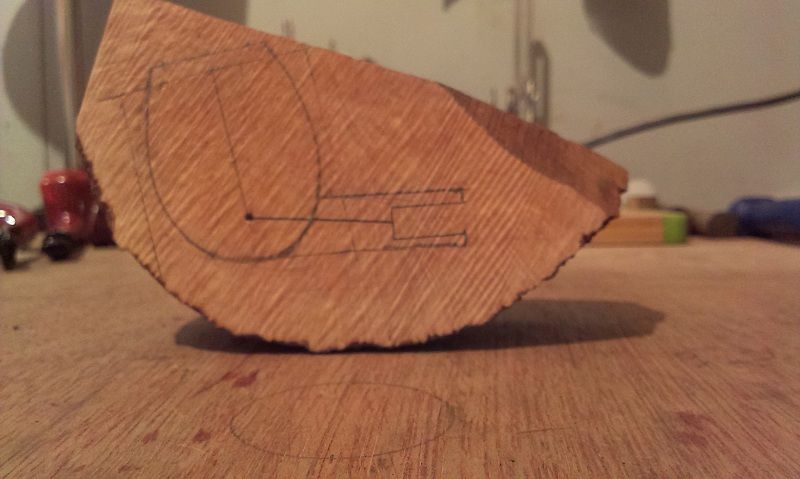
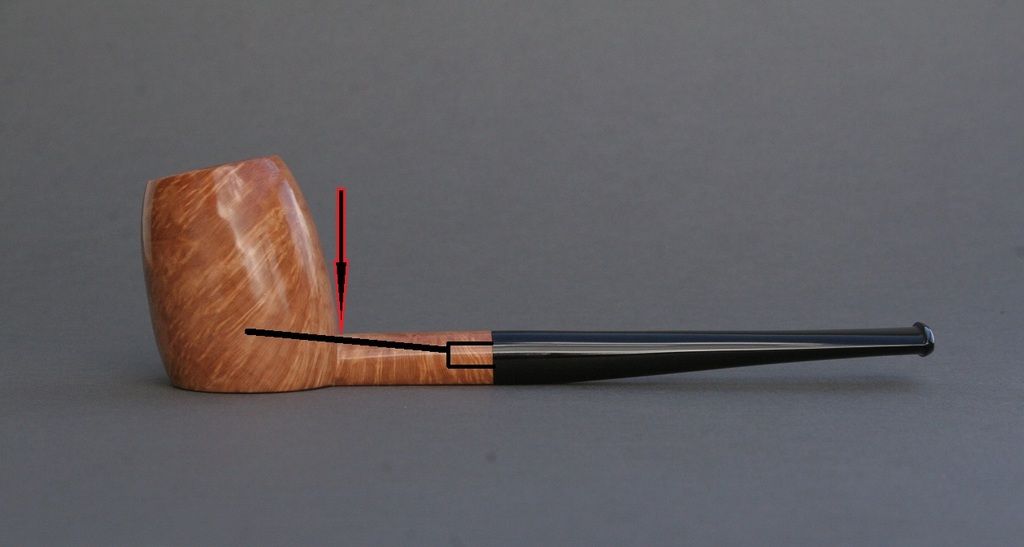
Anyhow, my 8th pipe isn't exactly as I planned it to be. Second to last photo shows what I mean. Somewhere in the middle I decided to make a sitter. There was no any significant flaw (for the first time), so finishing without a stain was rather obvious.

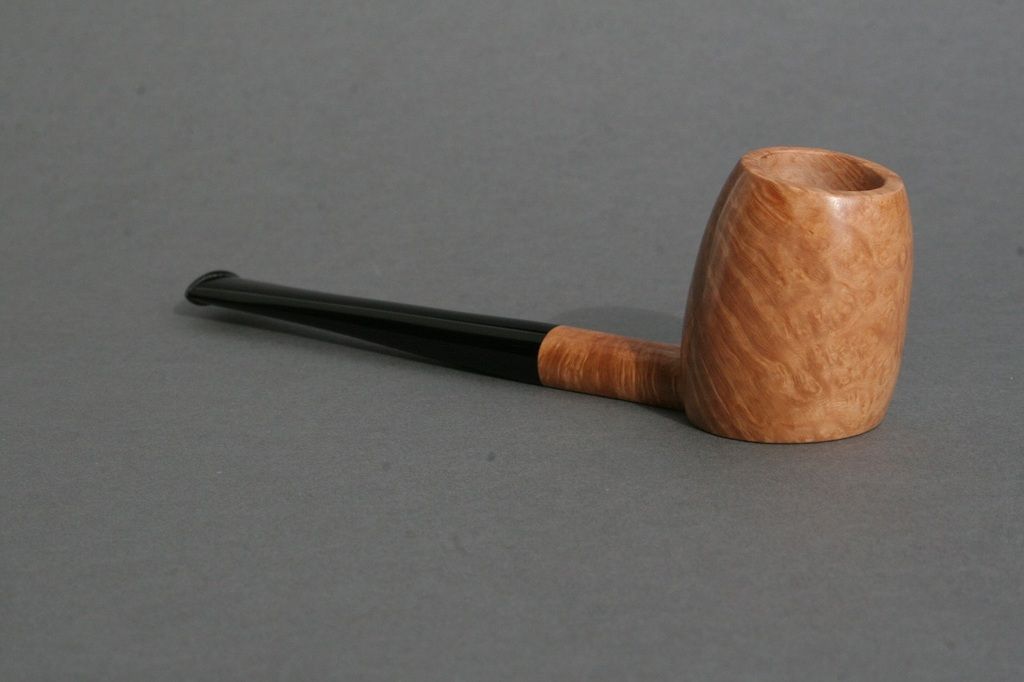
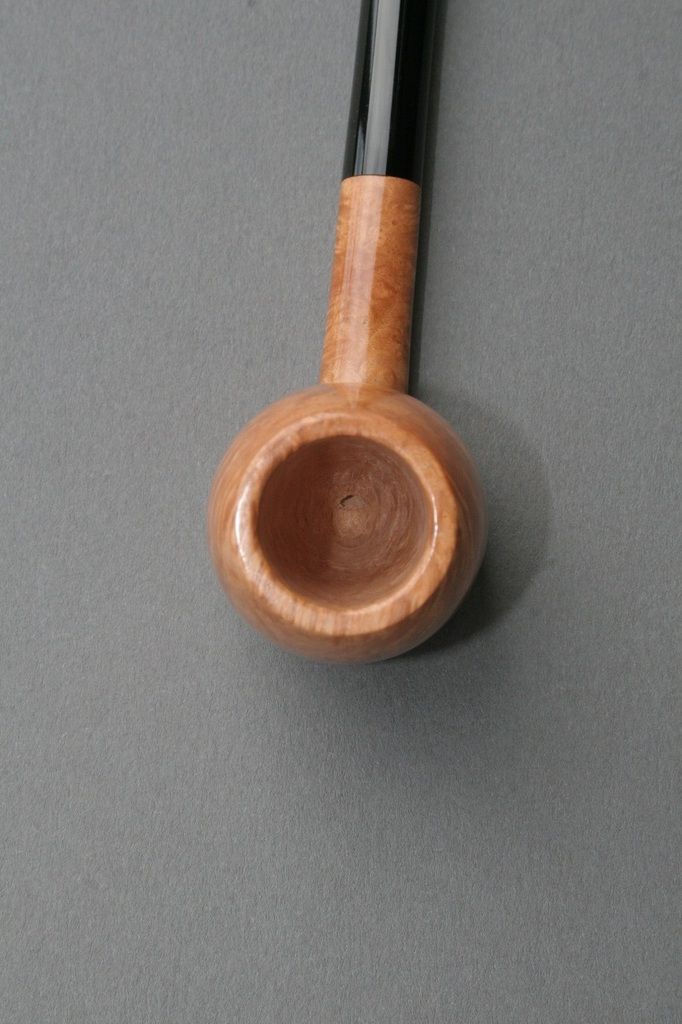
There is one major mistake which I made. I marked it on the last photo. In a place where shank meets bowl, there isn't much of material left. I drilled the draught hole too high.

I have read some post lately, where Premal Chheda was criticized for his harsh comments. I belive any critique is good as long as it's helpful. So guys, you don't need to worry about my feelings. I can only benefit.


Thanks and have a nice weekend.

Jakub


Image

Image

Image

Image

Image

Image

Image

Image

Image

Image

Image

Image
"Making pipes is easy. Making GOOD pipes is hard. Just keep at it and never be satisfied" - George Dibos

www.nouw.com/jp_pipes/about-me
www.etsy.com/ie/shop/JPPipes?ref=search_shop_redirect
www.facebook.com/JP-Pipes-962144290546960/?ref=hl
DocAitch
Posts: 1111
Joined: Mon Dec 14, 2015 12:44 am
Location: Baltimore, Maryland

Re: #8

Post by DocAitch »

It's pretty obvious that you sanded the bottom off.Why would you do that?
It would look great with a proper bottom.
DocAitch
"Hettinger, if you stamp 'hand made' on a dog turd, some one will buy it."
-Charles Hollyday, pipe maker, reluctant mentor, and curmudgeon
" Never show an idiot an unfinished pipe!"- same guy
User avatar
Jakub P.
Posts: 51
Joined: Tue Feb 16, 2016 11:46 am
Location: Ireland, Tralee, Co. Kerry

Re: #8

Post by Jakub P. »

DocAitch wrote:It's pretty obvious that you sanded the bottom off. Why would you do that?
I honestly can't recall. From time to time I feel irresistible urge of doing something unconventional. I thought it would look good then. For some reason I'm feeling a little bit sheepish now.
I'm glad I didn't write in subject: "#8 - best up to date" :wink:
"Making pipes is easy. Making GOOD pipes is hard. Just keep at it and never be satisfied" - George Dibos

www.nouw.com/jp_pipes/about-me
www.etsy.com/ie/shop/JPPipes?ref=search_shop_redirect
www.facebook.com/JP-Pipes-962144290546960/?ref=hl
User avatar
CowboyTed
Posts: 10
Joined: Wed Mar 01, 2017 9:26 pm
Location: Elizabeth, Colorado

Re: #8

Post by CowboyTed »

Jakub P. wrote:
DocAitch wrote:It's pretty obvious that you sanded the bottom off. Why would you do that?
From time to time I feel irresistible urge of doing something unconventional.
I get that urge as well, and I don't think there's anything wrong with doing things that are unconventional. That's the way a craft evolves through time. The downside to our urge is that we sometimes create a pipe that "doesn't work" as a result of our unconventional creativity.

Unfortunately, (simply as a matter of personal attraction) your pipe doesn't work for my taste. I'd love to see that same pipe made the way you originally marked it on the briar. It would be a great-looking pipe!

Your finish work looks great, and the interface between your shank and bowl is as sharp and clean as any I've seen. I've been working on making clean lines on that same interface on my pipes. Speaking of finish work, the one nice thing I can say about your "sitter" bottom on that pipe is that the birds-eye in the briar looks fantastic on that flat surface, even if it doesn't look so great in the larger pipe design.

It seems you also share my habit of making pipes with skinny shanks. Like you, I mark nice fat shanks, then slowly sand them until they are much narrower. I need to learn not to grind off too much shank as I shape a pipe, and it seems you need to work on that too. I have one sitting on my bench right now where I sanded a bit too deeply into the side of the shank at the bowl/shank junction. I'm going to try to make it an oval shank as a way to salvage the pipe, but like yours, the pipe that results will be unconventional: a pot with an oval shank, but the oval shank will be a vertical oval, instead of the usual horizontal oval shank. Somehow, I doubt I will want to share the resulting pipe here! :wink:
User avatar
Jakub P.
Posts: 51
Joined: Tue Feb 16, 2016 11:46 am
Location: Ireland, Tralee, Co. Kerry

Re: #8

Post by Jakub P. »

Sorry for such a late response. I'm trying to spend as much time as possible in my workshop now.

CowboyTed wrote:Unfortunately, (simply as a matter of personal attraction) your pipe doesn't work for my taste. I'd love to see that same pipe made the way you originally marked it on the briar. It would be a great-looking pipe!
I didn't see that then but now, I think it was totally mistaken concept.
CowboyTed wrote:Your finish work looks great, and the interface between your shank and bowl is as sharp and clean as any I've seen.
Maybe even too sharp. I believe there should be some curve. Even the slightest. But this sharp transition was rather coincidental.
CowboyTed wrote:I doubt I will want to share the resulting pipe here! :wink:
C'mon, they are not going to bite your head off. Right guys? ;)
Anyhow, I'd love to see it.
"Making pipes is easy. Making GOOD pipes is hard. Just keep at it and never be satisfied" - George Dibos

www.nouw.com/jp_pipes/about-me
www.etsy.com/ie/shop/JPPipes?ref=search_shop_redirect
www.facebook.com/JP-Pipes-962144290546960/?ref=hl
Post Reply